Best Apple Pie Filling: Stovetop Method
- Time: Active 15 minutes, Passive 15 minutes, Total 30 minutes
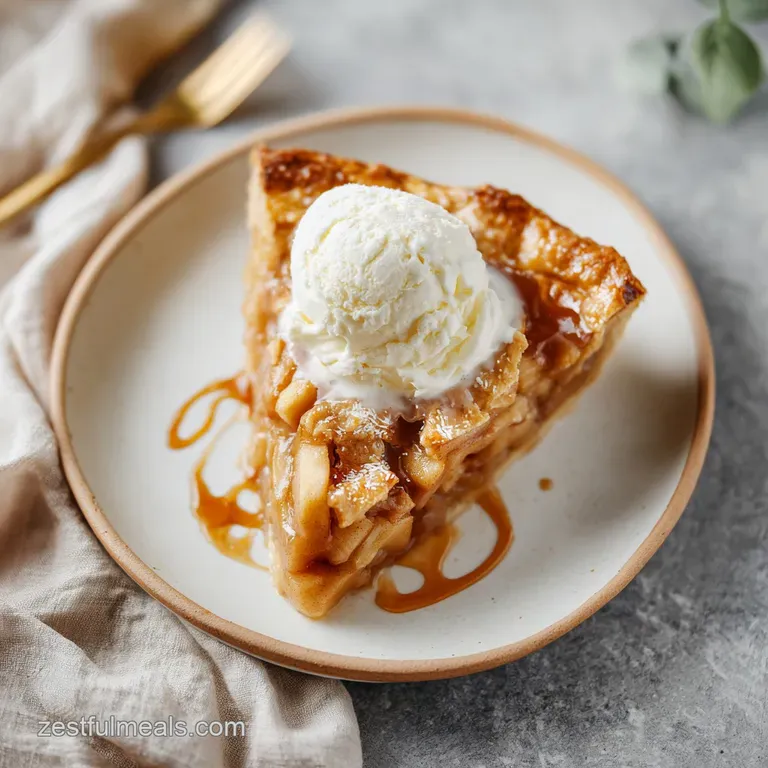
- Flavor/Texture Hook: Spiced amber syrup with tender, snap crisp fruit
- Perfect for: Holiday baking, canning prep, or topping warm desserts
Why this works
- Pre Slowing the Steam: By sweating the apples for 5–7 minutes, we release the excess water before it enters the oven, preventing a watery mess inside your crust.
- Pectin Preservation: The addition of fresh lemon juice lowers the pH, which helps the pectin in the cell walls of the apples stay firm so they don't turn into applesauce.
- Starch Gelatinization: Using a cold water slurry for the cornstarch allows the molecules to hydrate evenly without clumping, creating a velvety, translucent sauce as it hits the boiling point.
- The Butter Gloss: Adding cold, cubed butter at the very end creates a temporary emulsion that gives the syrup a professional, silky mouthfeel.
| Method | Total Time | Fruit Texture | Best For |
|---|---|---|---|
| Stovetop (This Recipe) | 30 minutes | Tender but holds shape | Flaky double crust pies and canning |
| Raw in-Crust | 60 minutes | Very soft/mushy | Deep dish crumbles where juice is okay |
| Slow Cooker | 4 hours | Soft and jammy | Topping oatmeal or yogurt |
| Quick Microwave | 10 minutes | Unevenly cooked | Emergency single serving cravings |
The choice between a stovetop pre cook and the raw in-crust method is usually what defines the success of your bake. If you use this simple apple pie filling recipe on the stove first, you can see exactly how thick the sauce is before it ever touches dough. If you are planning a bigger baking project, you might want to try this alongside my Apple Blueberry Crisp to see how different fruit structures react to heat. The pre cook method is superior because it allows you to taste for spice levels and adjust the sweetness while the filling is still in the pot.
Component deep dive
| Ingredient | Science Role | Pro Secret |
|---|---|---|
| Granny Smith Apples | Structure provider | Mix with Honeycrisp for a balance of tartness and floral sweetness. |
| Cornstarch | Thickening agent | Always whisk with cold water first to prevent "fish eyes" or starchy lumps. |
| Brown Sugar | Hygroscopic sweetener | The molasses content adds moisture and a deep, caramelized color to the syrup. |
| Lemon Juice | Enzyme inhibitor | Prevents enzymatic browning and cuts through the heavy sweetness of the sugars. |
Ingredients and substitutions
- 3 lbs Granny Smith or Honeycrisp apples: Peeled, cored, and sliced 1/4 inch thick. Why this? These varieties maintain their structural integrity even after over high heat exposure.
- Substitute: Braeburn or Jonagold apples offer a similar firm texture.
- 1 tbsp fresh squeezed lemon juice: Adds necessary acidity.
- Substitute: 1 tsp of apple cider vinegar works in a pinch for brightness.
- 0.5 cup filtered water: The base for the initial fruit sweat.
- Substitute: Apple cider for a much more intense, concentrated fruit flavor.
- 0.5 cup packed brown sugar: Provides the deep, molasses driven caramel notes.
- Substitute: Coconut sugar for a more toasted, earthy sweetness.
- 0.25 cup granulated sugar: Clean sweetness that doesn't overshadow the fruit.
- Substitute: Raw cane sugar adds a nice subtle crunch if not fully dissolved.
- 1.5 tsp ground cinnamon: The essential warm spice.
- Substitute: Apple pie spice blend (use 2 tsp) for a more complex profile.
- 0.25 tsp freshly grated nutmeg: Adds a woody, aromatic depth. Why this? Freshly grated has oils that pre ground spices lose over time.
- Substitute: Allspice provides a similar warm, slightly peppery kick.
- 0.25 tsp fine sea salt: Sharpens the contrast between the sugars and spices.
- Substitute: Kosher salt (use 0.5 tsp) for a milder saltiness.
- 3 tbsp cornstarch: Thickens the liquid into a stable syrup.
- Substitute: Clear Jel is the industry standard if you plan on canning this filling.
- 2 tbsp cold water: For the slurry.
- 2 tbsp unsalted butter: Cubed and cold. Why this? It rounds out the sharp acids for a velvety finish.
- Substitute: Vegan butter or refined coconut oil for a dairy-free version.
step-by-step instructions
- Prepare the apples by peeling and coring them, then slicing into consistent 1/4 inch wedges. Note: Uniform thickness ensures every slice reaches the same level of tenderness at the same time.
- In a large Dutch oven, toss the apple slices with the lemon juice, 0.5 cup water, brown sugar, granulated sugar, cinnamon, nutmeg, and salt. Mix until the fruit is thoroughly coated and glistening.
- Set the pot over medium heat and cover tightly with a lid.
- Sweat the apples for 5–7 minutes, stirring once or twice until the apples are pliable but still have a slight snap when bitten.
- While the fruit cooks, whisk the 3 tbsp cornstarch and 2 tbsp cold water in a small bowl until completely smooth.
- Remove the lid once the liquid in the pot is bubbling steadily.
- Pour the cornstarch slurry into the bubbling center and add the 2 tbsp of cold, cubed butter.
- Stir the mixture constantly for 1-2 minutes until the liquid transforms from cloudy to a glossy, translucent amber.
- Remove the Dutch oven from the heat immediately to prevent the apples from turning to mush.
- Transfer the homemade apple pie filling to a shallow baking dish and let it cool completely to room temperature before using or refrigerating.
Fixing common issues
Why your filling is runny
A runny filling is usually the result of "under activating" the cornstarch. Cornstarch needs to reach a specific temperature (about 170°F to 200°F) to fully bloom and thicken the liquid.
If you pull it off the heat the moment it looks thick, it might "weep" liquid later as it cools. Another culprit is the type of apple; softer varieties like McIntosh release far more water than a Granny Smith can handle.
Why your apples are mushy
If your fruit has lost its shape and turned into a sauce, you likely over sweated them in the first step. The goal of the 5 7 minute cook time is just to release the initial burst of moisture, not to cook them through.
Remember that if you are using this in a pie, they will cook for another 45–50 minutes in the oven. Always err on the side of "underdone" during the stovetop phase.
| Problem | Root Cause | Solution |
|---|---|---|
| Cloudy Syrup | Starch didn't cook long enough | Simmer for 30 more seconds until the sauce turns clear and glossy. |
| Grit in Sauce | Spices didn't hydrate | Ensure you add spices at the beginning so they bloom in the apple juices. |
| Metallic Taste | Reactive pan usage | Use a stainless steel or enameled Dutch oven instead of raw aluminum or iron. |
Common Mistakes Checklist
- ✓ Never use warm water for the cornstarch slurry - it will clump instantly.
- ✓ Don't skip the lemon juice; the acidity is what prevents the apples from becoming a brown, oxidized mess.
- ✓ Ensure the butter is cold when added; this helps create that specific velvety emulsion.
- ✓ Avoid overcrowding the pot; if you are doubling the recipe, use two separate pots to ensure even heat distribution.
- ✓ Let the filling cool completely before putting it in a crust; hot filling will melt the butter in your dough and ruin the flake.
If you find yourself with extra apples that didn't quite make the cut for the filling, you can always pivot and make a batch of Fried Apples. They use a similar flavor profile but focus on a quicker, pan seared texture that doesn't require the same structural integrity as a pie filling.
Adjusting the yield
When you need to scale this best apple pie filling recipe for a large crowd or a smaller batch, there are a few rules I've learned through my own kitchen fails. If you are cutting the recipe in half for a small galette, use half a beaten egg for any wash, but for the filling itself, just halve the measurements exactly.
The cook time will drop by about 20% because there is less mass to heat up, so start checking the apples at the 4 minute mark.
For those doubling the recipe for a large holiday gathering or for best apple pie filling for canning, keep the spices at 1.5x the original amount first. Spices like nutmeg and cinnamon can become overwhelming and "dusty" when doubled linearly.
You can always add more at the end, but you can't take it out. Also, when working with 6 lbs of apples, the "sweat" phase will take longer - likely 10–12 minutes - because the steam has a harder time escaping the mountain of fruit.
If you are scaling up for baking specifically, remember that two pies take more energy than one. If you put two pies in the oven at once, you might need to increase your oven temp by about 10°F or add 10 minutes to the bake time to account for the cold mass entering the oven.
I usually prefer to cook my filling in batches anyway to ensure the cornstarch slurry distributes perfectly every single time.
Debunking common myths
One of the most persistent myths is that you should never peel your apples for the best apple pie. People claim the skins add "character" and fiber, but in reality, apple skins become tough and papery when baked inside a pie.
They detach from the fruit and create an unpleasant texture that interrupts the velvety flow of the filling. Unless you are making a rustic, open faced tart, always peel your fruit for a professional grade result.
Another myth is that you must use a dozen different types of apples to get a "complex" flavor. While a mix is nice, you can achieve incredible depth with just two varieties. The "complexity" usually comes from the balance of salt, acid, and high-quality spices, not from having five different types of fruit that all cook at different rates.
If you have Granny Smiths and maybe one "sweet" apple like a Gala or Honeycrisp, you have everything you need.
Finally, some people think that adding more cornstarch will solve a runny pie. It won't. If you add too much starch, the filling becomes bouncy and gelatinous, almost like a gummy candy. It loses that pourable, saucy quality that makes a pie truly great.
The secret isn't more starch; it’s the pre cooking phase that removes the water before the starch even has to deal with it.
Storage and zero waste
This apple pie filling from scratch is a meal prepper's dream. Once it has cooled completely, you can store it in an airtight container in the refrigerator for up to 4 days. If you want to keep it longer, this is officially the best apple pie filling to freeze.
Simply ladle the cooled filling into heavy duty freezer bags, squeeze out all the air, and lay them flat. They will stay fresh for up to 6 months. When you're ready to bake, thaw the bag in the fridge overnight. You might need to give it a quick stir, but the cornstarch stability holds up remarkably well to freezing.
Don't toss those apple peels and cores! I am a big believer in zero waste cooking. You can simmer the clean peels and cores with a bit of water and sugar to make a quick apple jelly or a concentrated apple syrup for cocktails. Alternatively, you can dehydrate the peels with a sprinkle of cinnamon for a crispy, healthy snack. If you have leftover filling that won't fit in your pie, it’s amazing stirred into a Sweet Potato Pecan Pie base for a mash up dessert, or simply served warm over pancakes the next morning.
If you're feeling adventurous, you can also use the leftover syrup from the bottom of the container to glaze a roast pork tenderloin. The sugar and acidity from the lemon and apples create a beautiful crust on savory meats. There is no reason any part of this recipe should end up in the bin.
If you have just a half cup left, toss it into your morning oatmeal with a splash of cream and you'll have a breakfast that tastes like a decadent dessert.

Recipe FAQs
What is the secret to a perfect pie filling?
The secret is the cornstarch slurry. Whisking 3 tablespoons of cornstarch with 2 tablespoons of cold water creates a stable thickener that prevents a runny pie, similar to how we manage liquid density in our Pineapple Stuffing Crispy Baked recipe.
What is the best apple pie filling?
The best filling uses a mix of Granny Smith or Honeycrisp apples. These varieties hold their structure perfectly through the 5 7 minute sweating process, ensuring you get tender fruit rather than mush.
What is the secret to a good apple pie?
Cooling the filling completely before assembly is mandatory. If you add hot filling to a raw crust, the heat will melt the butter in your dough, resulting in a soggy, greasy bottom instead of a crisp, flaky one.
Which pie is best for diabetics?
None of these traditional pie fillings are ideal for diabetics. Because this recipe relies on a combination of brown and granulated sugar to achieve its signature texture and flavor, it is not suitable for a diabetic diet.
How to keep apple slices from turning brown?
Toss the apples immediately with the lemon juice. The acidity acts as an antioxidant, stopping oxidation before it begins, which keeps the fruit looking fresh even after the 15-minute cooking time.
How to fix a runny filling?
Add a fresh cornstarch slurry to the pot and stir constantly. You must cook it for at least 1 2 minutes over medium heat to activate the starch, which transforms the juices into a glossy, amber hued syrup.
How to store leftover filling?
Seal the cooled filling in an airtight container for up to 4 days in the refrigerator. For long term storage, ladle it into heavy duty freezer bags, remove all the air, and freeze flat for up to 6 months.
Best Apple Pie Filling
Ingredients:
Instructions:
Nutrition Facts:
| Calories | 181 kcal |
|---|---|
| Protein | 0.6 g |
| Fat | 3.1 g |
| Carbs | 40.2 g |
| Fiber | 3.3 g |
| Sugar | 32.1 g |
| Sodium | 76 mg |
