Bread in a Bag
- Time: Active 20 mins, Passive 1 hours 25 mins, Total 1 hours 45 mins
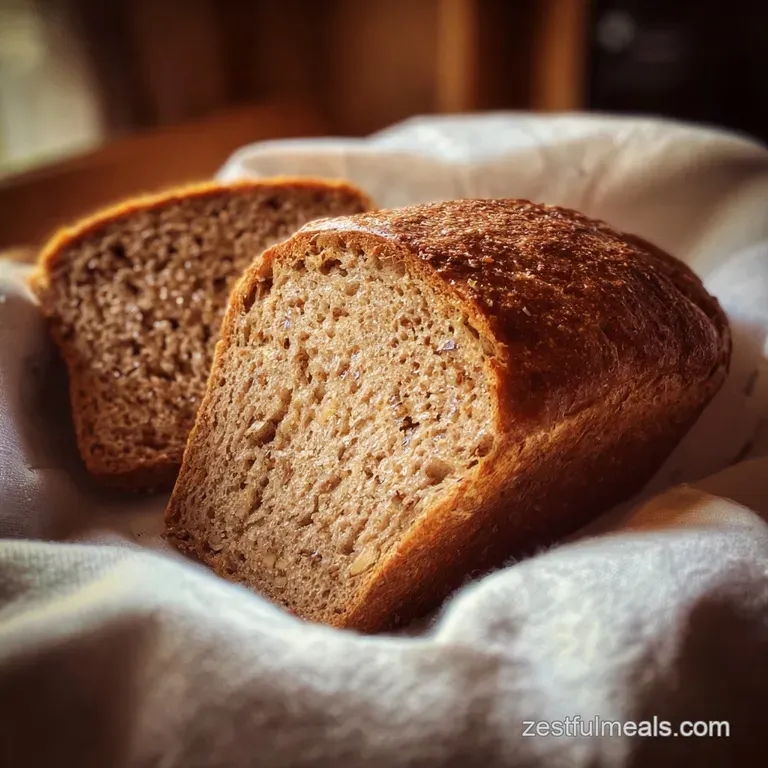
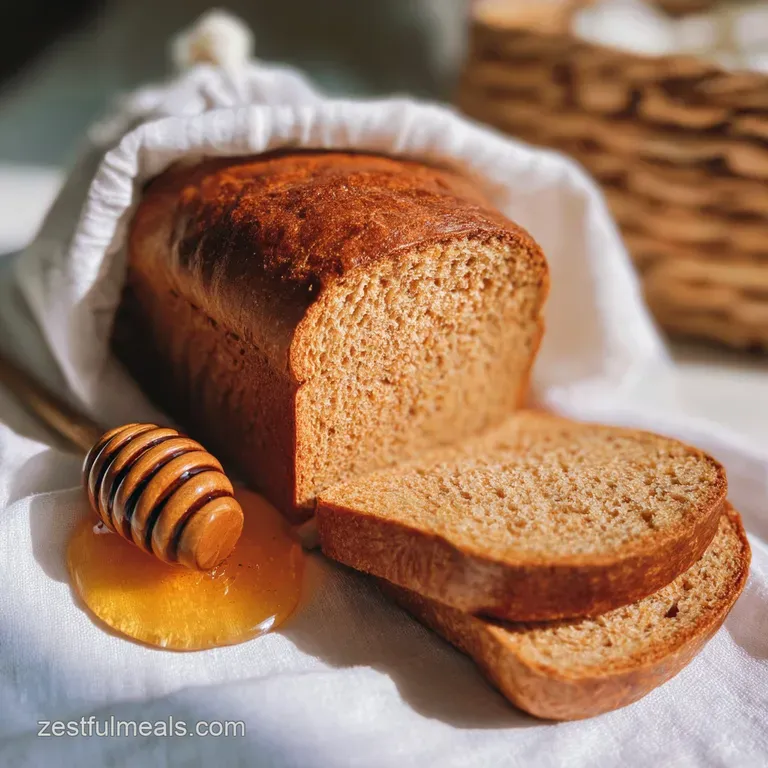
- Flavor/Texture Hook: A golden, honey kissed crust with a velvety, tight crumb interior.
- Perfect for: Busy weeknights, baking with toddlers, or low mess camping meals.
The Science of Why it Works
Yeast Fermentation: The warm water (105°F–115°F) and honey create a high energy environment for the yeast to consume sugars, releasing carbon dioxide gas that gets trapped by gluten.
Starch Gelatinization: During baking, the flour’s starches absorb moisture and swell, setting the bread’s structure as the internal temperature rises.
Chef Tip
Lightly mist the inside of your gallon bag with non stick spray before adding ingredients. This ensures every last bit of dough releases easily when it’s time to move it to the loaf pan.
Quick Recipe Specifications
When you are deciding whether to bake this in a traditional oven or try a more rustic stovetop method (like in a Dutch oven), it helps to know how the heat affects the final texture. My kids prefer the oven version because the crust is thinner and easier for little teeth to crunch through.
However, the stovetop method creates a crust that is truly impressive thick, dark, and rustic.
| Cooking Method | Total Time | Texture | Best For |
|---|---|---|---|
| Standard Oven | 25 minutes | Soft, thin, golden crust | Sandwich slices and kids |
| Stovetop (Dutch Oven) | 35 minutes | Thick, crunchy, rustic crust | Dipping in hearty soups |
| Convection Oven | 20 minutes | Extra crispy, even browning | Fast weeknight turnarounds |
Right then, let's talk about the actual numbers. To get that velvety texture we're after, you need to be precise with your water temperature. If it's too cold, the yeast stays sleepy; if it's too hot, you'll kill it. Use a digital thermometer if you have one, or aim for the temperature of a warm baby bottle.
Pantry Ingredient Science
Every ingredient in this bag has a specific job to do. We aren't just tossing things together for the sake of it. For example, the honey isn't just for sweetness; it acts as a hygroscopic agent, meaning it helps the bread retain moisture so it doesn't go stale by the next morning.
| Ingredient | Science Role | Pro Secret |
|---|---|---|
| All Purpose Flour | Protein/Structure | Sift it first to avoid lumps inside the bag. |
| Rapid Rise Yeast | Leavening Agent | Ensure it's fresh; old yeast won't produce a "shatter" crust. |
| Honey | Moisture & Food | Swap for maple syrup if you want a deeper, woody flavor. |
| Sea Salt | Gluten Regulator | Never pour salt directly onto dry yeast; it can inhibit growth. |
The olive oil is another heavy hitter here. It coats the gluten strands, which prevents them from getting too tough. This results in a "short" crumb that feels tender rather than chewy. If you're out of olive oil, melted butter works, but it will change the flavor profile to something more like a brioche.
Necessary Minimal Tools
You really don't need much for this. In fact, that's the whole point. We are bypassing the stand mixer and the large ceramic bowls. However, the quality of your bag matters. Use a heavy duty freezer bag, not a thin storage bag.
I learned the hard way that thin bags can burst during the vigorous kneading phase, and cleaning dough out of a rug is not how I want to spend my Saturday.
- 1 Gallon Freezer Bag: The thicker the better to withstand the pressure of kneading.
- 9x5 Inch Loaf Pan: A standard size that supports the dough as it rises upward.
- Digital Thermometer: Crucial for checking that 105°F–115°F water range.
- Kitchen Scale: While I provide cup measurements, weighing 125g of flour is much more accurate.
- Pastry Brush: For that final olive oil wash that makes the crust shimmer.
If you don't have a loaf pan, don't sweat it. You can shape the dough into a round "boule" and bake it on a preheated baking sheet. It will be slightly wider and shorter, but the taste will be identical. The bag does all the heavy lifting of mixing, so your hands stay mostly clean until the very final shaping stage.
Guided Step Instructions
Let's get into the nitty gritty. This is a two stage process. First, we make a "sponge" to wake up the yeast, and then we build the bulk of the dough. Keep an eye on the bag; as the yeast works, the bag will puff up with air that's how you know it's working!
The Sponge Stage
- Prep the bag. Open your gallon freezer bag and add 1 cup (125g) all purpose flour, 1 packet (7g) rapid rise yeast, 1 cup (240ml) warm water, and 2 tbsp (42g) honey.
- Activate the yeast. Squeeze the air out, seal the bag, and "squish" it with your hands until the flour is hydrated. Note: This creates a liquidy starter that allows the yeast to multiply rapidly.
- Rest the sponge. Let the bag sit on your counter for 15 minutes until it looks bubbly and frothy.
Building the Bulk
- Add the rest. Open the bag and pour in 1 cup (130g) whole wheat flour, 1.25 cups (156g) all purpose flour, 1 tsp (6g) sea salt, and 2 tbsp (27g) olive oil.
- Mix the dough. Seal the bag again and knead it from the outside. Move the dough around until a shaggy ball forms and no dry flour remains.
- The bag knead. Continue kneading through the plastic for 5 minutes. Note: This develops the gluten without the mess of a floured surface.
- First rise. Let the dough rest inside the sealed bag for 45 minutes until it has doubled in size.
Shape and Bake
- The final shape. Remove the dough from the bag and place it into a greased 9x5 loaf pan. Let it rise for another 20 minutes.
- The bake. Preheat your oven to 375°F (190°C). Bake for 25 minutes until the top is deep golden and it sounds hollow when tapped.
- The cool down. Brush the top with a little extra olive oil and let it rest for 10 minutes before slicing.
Fixing Common Blunders
The most common issue I hear from friends is that their bread didn't rise. Usually, it's a temperature issue. If your kitchen is cold, the dough will take much longer to double in size. I like to let mine sit on top of the refrigerator or near a preheating oven to give it that extra boost.
Why Your Bag Bread is Dense
A heavy, brick like loaf usually comes down to over measuring the flour. If you "scoop" flour with a measuring cup, you pack it down, often adding 20% more than needed. Always spoon the flour into the cup and level it off with a knife, or better yet, use a scale.
| Problem | Root Cause | Solution |
|---|---|---|
| Bag Bursting | Too much air left in bag | Always squeeze out excess air before kneading. |
| Sticky Dough | High humidity or too much water | Add 1 tbsp of flour at a time until it pulls away from the bag. |
| Crust is too hard | Oven temperature too high | Tent the loaf with foil halfway through baking. |
One mistake I once made was forgetting the salt. You wouldn't think a teaspoon would matter, but without it, the bread tastes flat and the yeast grows uncontrollably, leading to a loaf that collapses. Always double check your salt!
Common Mistakes Checklist ✓ Verify yeast expiration date before starting (dead yeast equals no rise). ✓ Use a thermometer for the water (105°F–115°F is the "Goldilocks" zone).
✓ Don't skip the 15 minute sponge rest; it builds flavor and strength. ✓ Squeeze the air out of the bag before every "squishing" session. ✓ Let the bread cool slightly before slicing to prevent the center from becoming gummy.
Creative Loaf Variations
Once you've mastered the basic bread in a bag recipe, you can start getting fancy. My family loves a savory version where we add a tablespoon of dried rosemary and some garlic powder to the second flour addition. It makes the whole house smell like an Italian bistro.
If you are looking for something a bit sweeter, you can actually adapt this into a dessert style loaf. While this recipe is for a standard yeast bread, the concept of minimal mess reminds me of my Banana Bread Recipe, which is another great one for busy weeknights.
| Original Ingredient | Substitute | Why It Works |
|---|---|---|
| Honey | Pure Maple Syrup | Adds a rich, autumnal sweetness. Note: Slightly thinner consistency. |
| All Purpose Flour | Bread Flour | Higher protein content. Note: Results in a much chewier, artisanal texture. |
| Olive Oil | Melted Coconut Oil | Adds a very subtle nutty note. Note: Ensure it is liquid before adding. |
For a vegan friendly version, simply ensure your honey is swapped for maple syrup or agave. The olive oil is already plant based, making this an easy win for diverse diets. If you want a "camping bread" version, you can even cook the dough in a greased Dutch oven over low coals for about 30 minutes, turning the pot occasionally.
Storage and Freshness
Since this bread doesn't have the preservatives you find in store-bought loaves, it will start to firm up after about two days. That's perfectly fine it just means it's time for toast! For the first 48 hours, keep it in an airtight container or a reusable bread bag at room temperature.
Avoid the refrigerator at all costs. The cold environment actually accelerates the recrystallization of starch molecules, which makes the bread go stale faster than it would on the counter. If you aren't going to finish it, freezing is your best friend.
Slice the loaf first, then freeze the slices with bits of parchment paper between them. You can pop a frozen slice directly into the toaster whenever a craving hits.
Leftover crusts or slightly stale ends shouldn't be tossed. I love using them for a Blueberry Bread Pudding recipe because the tighter crumb of this bag bread soaks up the custard perfectly without falling apart. You can also pulse them in a blender for the best homemade breadcrumbs you’ve ever tasted.
Serving Your Fresh Bread
There is nothing quite like a slice of this bread while it's still slightly warm, slathered in salted butter. Because of the honey and whole wheat, it has a complex, slightly nutty flavor that pairs beautifully with savory soups or stews. I often serve this alongside a big bowl of chili on Sunday nights.
If you have a few slices left over the next morning, they make the world's best French toast. The structure is sturdy enough to handle a long soak in egg wash. If you're cooking for one, you should try my Simple French Toast Recipe using this bread; the velvety center of the loaf holds onto the cinnamon and vanilla beautifully.
- For a shiny, soft crust
- Brush the loaf with melted butter immediately after taking it out of the oven.
- For a rustic, floury look
- Dust the top of the dough with a tablespoon of flour right before it goes into the oven.
- For a seeded loaf
- Spray the top with water and sprinkle on oats, flax, or sesame seeds before the final rise.
However you choose to eat it, the joy of this recipe is that it fits into your life, not the other way around. No fancy mixers, no four hour kneading sessions just a bag, some simple pantry staples, and the best smelling kitchen in the neighborhood. Right then, let's get that bag sealed and start squishing!

Bread in a Bag FAQs
How long does bread in a bag last?
Up to 3 days at room temperature. For best quality, store in an airtight container or reusable bread bag. Avoid refrigeration as it speeds up staling.
What ingredients are needed for bread in a bag?
All-purpose flour, rapid rise yeast, warm water, honey, sea salt, and olive oil. These simple pantry staples create a delicious, soft crumbed loaf with minimal effort. Some recipes may also include whole wheat flour for added flavor and texture.
What are the benefits of baking bread in a bag?
Reduced mess and increased convenience. The bag acts as your mixing bowl and kneading surface, keeping your hands and kitchen clean. It's also a fantastic method for beginners or for baking with children.
Does bread stay fresh in a linen bag?
No, a linen bag is best for storing already baked bread for a short time. For the initial mixing and kneading, a sturdy plastic gallon freezer bag is essential to contain the dough and allow for proper gluten development.
How do I ensure my bread in a bag rises properly?
Ensure yeast is fresh and water is the correct temperature (105°F 115°F). Keep the dough in a warm environment, and always squeeze excess air out of the bag before letting it rise. Overmeasuring flour can also lead to dense bread.
Can I add other ingredients to bread in a bag?
Yes, feel free to experiment with additions. Savory options include dried herbs like rosemary or garlic powder, added with the second flour mix. For sweeter variations, consider adapting the concept to something like our Easy Chocolate Chip Cookies: Fudgy Centers, where inclusions are key.
What is the ideal water temperature for activating yeast in bread in a bag?
Aim for 105°F to 115°F (40°C to 46°C). Water in this "Goldilocks zone" is warm enough to wake up the yeast for optimal activity without killing it, ensuring a good rise and flavor development.
Bread In A Bag

Ingredients:
Instructions:
Nutrition Facts:
| Calories | 143 kcal |
|---|---|
| Protein | 3.8 g |
| Fat | 2.5 g |
| Carbs | 26.3 g |
| Fiber | 1.1 g |
| Sugar | 2.6 g |
| Sodium | 178 mg |
