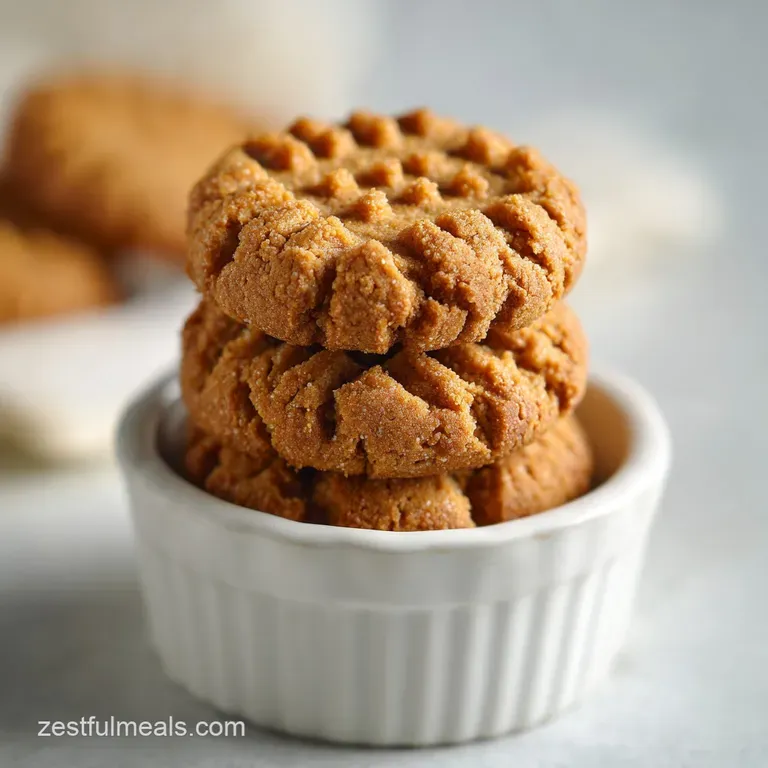
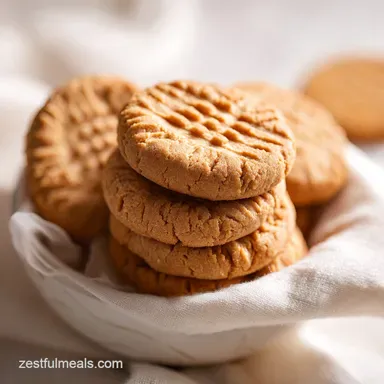
Classic Peanut Butter Cookies
- Time: Active 10 minutes, Passive 10 minutes, Total 20 minutes
- Flavor/Texture Hook: Salty sweet with a tender, melt in-the mouth finish
- Perfect for: School bake sales, budget-friendly snacking, or a quick weeknight treat
- Master The Ultimate Peanut Butter Cookies Recipe
- The Science of Chewy Textures
- Essential Recipe Specs and Timing
- Budget Friendly Ingredient Selection Guide
- Essential Kitchen Tools for Success
- Easy Step by Step Instructions
- Pro Troubleshooting and Fixes
- Creative Ways to Customize
- Long Term Storage Solutions
- Perfect Pairings for Any Occasion
- Recipe FAQs
- 📝 Recipe Card
Master The Ultimate Peanut Butter Cookies Recipe
I still remember the first time I tried to make these for my kids. I was in a rush, the pantry was looking a bit bare, and I thought I could just eyeball the measurements. The result? A tray of oily puddles that smelled great but looked like something from a sci fi movie.
It was a messy, sticky lesson in the importance of fat ratios, but my kids ate them anyway with big, messy grins.
Since that afternoon, I've tested this recipe dozens of times to find the sweet spot between a cookie that's too dry and one that's too greasy. We want that classic fork pressed look that holds its shape but feels soft when you bite in.
It's about getting that "shatter" on the very edge while keeping the middle dense and rich.
Today, this is the only version we make. It’s affordable, uses basic staples, and satisfies that specific craving for something nutty and sweet. Whether you’re a pro or just looking for something to do with that jar of Jif in the back of the cupboard, these are the steps that actually work every single time.
The Science of Chewy Textures
The Physics of the Fork Press: Creating those iconic indentations increases the surface area of the dough, allowing heat to penetrate the dense center more evenly. This ensures the middle cooks through at the same rate as the edges, preventing a raw center or burnt perimeter.
- Fat Emulsification: Creaming the butter and peanut butter together creates a stable base that suspends sugar crystals, preventing the oil from separating during the bake.
- Protein Structure: The egg acts as the "glue," providing enough structure to hold the heavy peanut fats without making the texture tough or bread like.
- Sugar Interaction: Using more brown sugar than white sugar adds moisture and acidity, which reacts with the baking soda for a better rise and a softer bite.
- Starch Gelatinization: As the flour heats up, the starches absorb moisture from the egg and butter, setting the final shape of the cookie.
| Texture Preference | Bake Time | Visual Cue | Result |
|---|---|---|---|
| Soft and Doughy | 8 minutes | Pale edges, looks slightly wet | Melts in the mouth |
| Classic Chewy | 10 minutes | Golden edges, set center | Firm edge, soft middle |
| Extra Crunchy | 12 minutes | Deep brown edges, matte top | Crisp throughout, great for dipping |
This table helps you decide exactly when to pull the tray based on how your family likes their snacks. Just remember that cookies continue to firm up on the hot pan after you take them out of the oven.
Essential Recipe Specs and Timing
When you're balancing a busy schedule and a tight budget, knowing exactly how much time you need is vital. This isn't a project that takes all afternoon; it's a quick win that fits between finishing homework and starting dinner.
We are aiming for a yield of 24 cookies, which is usually enough to fill two standard baking sheets. If you find your dough is too soft to handle, a quick 15 minute chill in the fridge can make rolling the balls much easier, though it's not strictly necessary if your kitchen is cool.
| Prep Method | Total Time | Texture | Best For |
|---|---|---|---|
| Fresh Dough | 20 minutes | Tender & Soft | Immediate cravings |
| Chilled Dough | 35 minutes | Thicker & Chewy | Better flavor development |
| Frozen Dough | 25 minutes | Dense & Crispy | Prepped bake offs |
Using the chilled dough method allows the flour to fully hydrate, which often leads to a more professional look. However, for a standard weeknight, the 20 minute fresh dough method is what we usually stick to. If you are looking for other classic treats, you might also enjoy my Sugar Cookie Dough recipe.
Budget Friendly Ingredient Selection Guide
Ingredient Deep Dive
| Ingredient | Science Role | Pro Secret |
|---|---|---|
| Peanut Butter (250g) | Primary fat and flavor | Use creamy commercial brands for a consistent, silky crumb. |
| Brown Sugar (150g) | Moisture and chew | Pack it tight to ensure you get the full molasses hit. |
| All Purpose Flour (190g) | Structural skeleton | Weigh it if possible to avoid a dry, crumbly cookie. |
| Unsalted Butter (115g) | Flavor and spread | Ensure it's truly softened, not melted, for better aeration. |
Ingredients and Substitutes
- 1 cup (250g) Creamy Peanut Butter: Why this? Provides the fat base and essential nutty oils for flavor.
- Substitute: Crunchy peanut butter (adds texture but may spread slightly less).
- 0.5 cup (115g) Unsalted Butter, softened: Why this? Adds a rich, creamy mouthfeel that oil alone can't provide.
- Substitute: Salted butter (just omit the extra 0.5 tsp of salt).
- 0.75 cup (150g) Light or Dark Brown Sugar: Why this? The molasses keeps the cookies from becoming brittle.
- Substitute: Coconut sugar (adds a toasted flavor but yields a drier cookie).
- 0.5 cup (100g) Granulated White Sugar: Why this? Helps create those crisp, golden brown edges.
- Substitute: Extra brown sugar (makes the cookie very soft and dense).
- 1 Large Egg: Why this? Binds the ingredients and provides lift through steam.
- Substitute: 1/4 cup applesauce (yields a much softer, cake like texture).
- 1 tsp Pure Vanilla Extract: Why this? Rounds out the saltiness with a floral sweetness.
- Substitute: Almond extract (use only 1/4 tsp as it is very strong).
- 1.5 cups (190g) All Purpose Flour: Why this? The perfect protein content for a tender but sturdy bake.
- Substitute: 1:1 gluten-free flour blend (check for xanthan gum in the mix).
- 1 tsp Baking Soda: Why this? Reacts with brown sugar to create browning and rise.
- Substitute: 3 tsp baking powder (but the cookies will be paler).
- 0.5 tsp Baking Powder: Why this? Provides extra lift for a lighter, less dense cookie.
- Substitute: Omit if needed, but the cookie will be flatter.
- 0.5 tsp Fine Sea Salt: Why this? Cuts through the sugar and intensifies the peanut flavor.
- Substitute: Table salt (use slightly less as it is more "salty" by volume).
Essential Kitchen Tools for Success

You don't need fancy equipment to get great results here. I usually just use a sturdy wooden spoon and a bit of elbow grease, but a hand mixer can save you some time during the creaming stage.
The most important tool is actually your cooling rack; leaving cookies on a hot tray for too long is the number one cause of burnt bottoms.
If you have a cookie scoop, now is the time to use it. It ensures every cookie is exactly the same size, which means they all finish baking at the exact same moment. No more half raw, half burnt trays!
| Feature | Fresh Homemade | store-bought Dough |
|---|---|---|
| Flavor | Intense, real nut butter | Milder, more artificial |
| Cost | Low (pantry staples) | Higher per cookie |
| Texture | Customizable | One size fits all |
While the shortcut dough is fine for a literal emergency, the flavor of a homemade Peanut Butter Cookies batch is honestly incomparable. The saltiness is much more balanced when you control it yourself.
Easy step-by-step Instructions
- Preheat oven to 180°C (350°F). Line two large baking sheets with parchment paper. Note: This prevents sticking and ensures even heat distribution.
- Cream butter and sugars. Beat the softened butter (115g), brown sugar (150g), and white sugar (100g) in a large bowl until pale and fluffy. Note: This takes about 3 minutes and incorporates air for a lighter bite.
- Incorporate peanut butter. Add the creamy peanut butter (250g) and mix until the color is uniform.
- Add liquid ingredients. Mix in the egg and vanilla extract until the mixture looks velvety and smooth.
- Whisk dry ingredients. In a separate bowl, stir together the flour (190g), baking soda (1 tsp), baking powder (0.5 tsp), and salt (0.5 tsp).
- Combine mixtures. Gradually add the flour mixture to the peanut butter base, mixing until no white streaks remain. Note: Don't overmix, or the cookies will turn out tough.
- Roll dough balls. Scoop about 1.5 tablespoons of dough and roll into balls about 3cm in diameter. Place them 5cm apart on the trays.
- Create the pattern. Use a fork dipped in flour to press a crosshatch pattern into each ball, flattening them slightly until they are about 1cm thick.
- Bake the cookies. Place in the center of the oven for 10 minutes until the edges are just golden and the tops are matte.
- Cool and set. Leave on the tray for 5 minutes, then move to a wire rack until they are completely firm and cool.
Pro Troubleshooting and Fixes
Why Your Cookies Spread Too Much
If your cookies come out as one giant sheet rather than individual circles, the butter was likely too warm. When butter is nearly melted before it hits the oven, it can't hold those air pockets we worked so hard to create. Next time, try chilling the dough for 20 minutes before rolling.
Another culprit is using "natural" peanut butter that separates. The excess oil in those jars is great for toast but can wreak havoc on a baking recipe. Stick to the processed, no stir kind for the most reliable results.
Why Your Cookies Are Crumbly
This usually happens when there is too much flour. If you scoop your flour directly with the measuring cup, you're likely packing it down and getting up to 30% more than you need. Use a spoon to fill the cup and level it off with a knife, or better yet, use a digital scale.
Quick Fix Table
| Problem | Root Cause | Solution |
|---|---|---|
| Dry/Sandy | Too much flour | Use a scale or the spoon and level method. |
| Oily Bottoms | Natural PB used | Stick to commercial, stabilized peanut butter. |
| Burnt Bottoms | Dark baking sheet | Lower temp by 10°C or use parchment paper. |
Common Mistakes Checklist ✓ Ensure butter is room temperature, not melted or greasy. ✓ Don't skip the salt; it's what makes the peanut flavor pop. ✓ Check your baking soda for freshness by dropping a pinch in vinegar.
✓ Space the cookies at least 5cm apart to allow for airflow. ✓ Take them out when they look "underdone" they firm up as they cool.
Creative Ways to Customize
Making Peanut Butter Cookies with Kisses
This is the ultimate holiday variation. Simply roll the balls but skip the fork press. Bake them for 8 minutes, then quickly pull the tray out and press a chocolate kiss into the center of each one. Return to the oven for 1 more minute.
The heat will soften the chocolate just enough to stick without melting the shape.
Turning These Into Keto Peanut Butter Cookies
To make these low carb, you'll need to swap the sugars and the flour. Use a granulated erythritol or monk fruit sweetener in place of both sugars. Instead of all purpose flour, use almond flour, but be aware the texture will be much softer. You may need to add an extra half egg to help with binding.
Adding Crunch and Texture
If you love a bit of a "shatter" in your cookies, try rolling the dough balls in extra granulated sugar before pressing them with the fork. The sugar crystallizes in the oven, creating a beautiful sparkling crust.
You can also toss in a handful of chopped roasted peanuts or even some dark chocolate chips for a decadent twist.
Long Term Storage Solutions
To keep that soft, "just baked" texture, store these in an airtight container at room temperature. A little trick I learned from my grandmother is to put a single slice of white bread in the container with them. The cookies will absorb the moisture from the bread, staying soft for up to 5 days.
For longer storage, these cookies freeze beautifully. You can freeze the baked cookies for up to 3 months. Just make sure they are completely cool before bagging them. If you prefer a fresh bake every time, roll the dough into balls and freeze them on a tray. Once they are hard, toss them into a freezer bag.
You can bake them straight from frozen; just add 2 minutes to the total bake time.
Zero Waste Tip: If you find yourself with crumbs at the bottom of the jar, don't throw them away! Pulse them in a blender and use them as a base for a cheesecake crust or sprinkle them over vanilla ice cream.
Perfect Pairings for Any Occasion
These cookies are quite rich, so they pair best with something that has a bit of acidity or a clean finish. A cold glass of milk is the traditional choice, but a strong cup of black coffee or an Earl Grey tea works wonders to cut through the heavy peanut fats.
If you're feeling fancy, you can sandwich two cookies together with a layer of Chocolate Buttercream Frosting recipe. It turns a simple snack into a bakery style sandwich cookie.
For a busy weeknight dessert, I often serve these warm with a scoop of tart raspberry sorbet. The heat from the cookie and the cold, zingy fruit create a PB&J vibe that everyone in the family loves. It's a low cost way to make a Wednesday night feel a little bit more special.
If you want X, do Y: For a deeper flavor, use dark brown sugar instead of light. For a cleaner look, dip your fork in sugar instead of flour. For a saltier kick, sprinkle a tiny pinch of Malden salt on top right after baking.

Recipe FAQs
Can I substitute creamy peanut butter with natural, oil-separated peanut butter?
No, stick with commercial stabilized peanut butter. Natural peanut butter releases excess oil during baking, which often causes the cookies to spread too thin and result in an oily bottom layer.
How to ensure the cookies don't dry out during storage?
Place a slice of fresh white bread in the airtight container with the cooled cookies. The cookies will absorb the moisture from the bread, keeping them soft and pliable for up to five days.
Should I chill the dough before rolling and pressing the pattern?
No, chilling is optional but recommended for thicker cookies. If your kitchen is warm or you want thicker cookies that don't spread much, chilling for 20 minutes firms up the fats; otherwise, proceed immediately for a quicker bake.
How do I make the classic crosshatch pattern without the fork sticking?
Dip the fork tines in all-purpose flour before pressing down onto the dough ball. This dusting prevents the sticky peanut butter dough from adhering to the metal.
Is it true that overmixing the flour makes peanut butter cookies tough?
Yes, this is accurate. Overmixing after adding flour develops the gluten strands too much, which results in a cookie that is dense and less tender. Mix only until the dry streaks disappear.
What is the best substitute for all-purpose flour if I need a gluten-free version?
Use a 1:1 gluten-free baking blend that already contains xanthan gum. When you master controlling spread here, you'll find the same fat-to-flour logic applies well when adapting recipes like the Cool Whip Frosting Pudding recipe if you swap ingredients.
How long should I bake the cookies for a definitively soft and slightly underdone center?
Bake for exactly 8 minutes at 350°F (180°C). The edges should look set and golden, but the center will still appear slightly glossy and wet; they will continue cooking on the hot pan.
Classic Peanut Butter Cookies
Ingredients:
Instructions:
Nutrition Facts:
| Calories | 167 kcal |
|---|---|
| Protein | 3.2 g |
| Fat | 9.4 g |
| Carbs | 18.4 g |
| Fiber | 0.8 g |
| Sugar | 11.2 g |
| Sodium | 142 mg |
