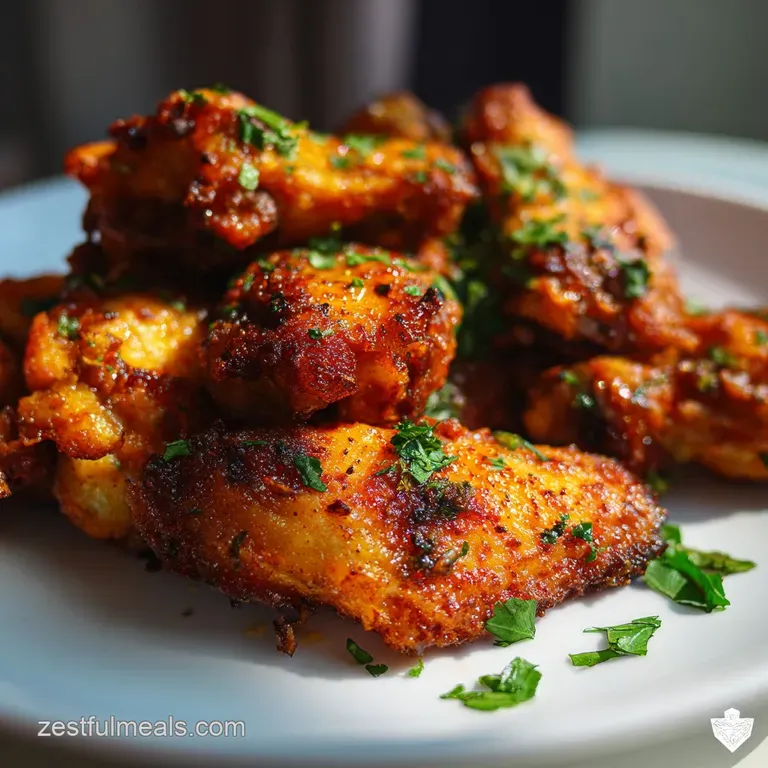
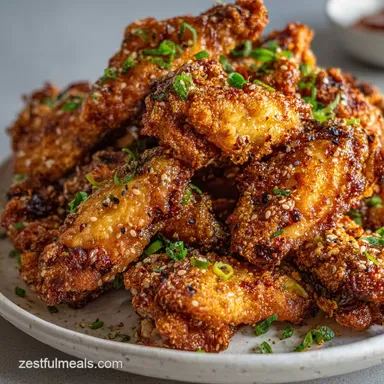
Baked Chicken Wings Recipe: Ultra Crispy Skin
- Time: Active 15 minutes, Passive 45 mins, Total 1 hour
- Flavor/Texture Hook: Shatter crisp skin with a zesty, citrus pepper punch
- Perfect for: Budget-friendly family game nights or stress free weeknight dinners
- Mastering the Perfect Crispy Baked Chicken Wings Recipe
- The Secret Physics of the Crunch
- Component Analysis for Maximum Flavor
- Choosing the Best Value Wing Components
- Essential Kitchen Tools for Maximum Airflow
- A Step by Step Path to Golden Skin
- Common Pitfalls and How to Avoid Sogginess
- Customizing Your Flavor Profile with Ease
- Debunking the Baking Soda Hype
- Safe Storage and Quality Reheating Methods
- What to Serve for a Family Feast
- Recipe FAQs
- 📝 Recipe Card
Mastering the Perfect Crispy Baked Chicken Wings Recipe
The sound of 2 lbs of chicken wings hitting a hot wire rack is music to my ears, but the real magic happens about 40 minutes later. I still remember the first time I tried making wings for my kids' birthday party.
I followed a "standard" recipe that promised crispiness but delivered something closer to a wet sponge. I was devastated and honestly, a bit embarrassed in front of the other parents. I had spent a chunk of our weekly grocery budget on meat that felt like it had been steamed rather than roasted.
That failure sent me on a mission to find a way to get that deep fried "shatter" without actually dragging out the heavy pot of oil. I started experimenting with temperature, airflow, and different starches. It turns out, you don't need fancy equipment or expensive rubs to get world class results.
You just need a little bit of science and some patience. Now, when I pull these out of the oven, the aroma of toasted garlic and lemon pepper fills the house, and my kids are usually hovering by the counter before the tray even hits the cooling rack.
We've all been there, staring at a soggy wing and wondering where it all went wrong. But trust me on this: this specific approach works every single time. It's budget smart because we use basic seasonings like onion powder and smoked paprika that you probably already have in your pantry.
We aren't making gourmet art here; we're making food that your family will actually fight over. Let's get into how we make that happen without breaking the bank or your spirit.
The Secret Physics of the Crunch
The Science of the Shatter: Cornstarch acts as a moisture wicking agent that absorbs the natural juices of the skin, creating a brittle, glass like layer that browns intensely under high heat.
This creates a physical barrier that prevents the skin from becoming rubbery while the fat underneath renders out and fries the exterior from the inside out.
- Surface Area Optimization: By separating the flats and drums, we increase the surface area exposed to heat, ensuring every centimeter gets crispy.
- Fat Rendering Efficiency: over High heat roasting melts the subcutaneous fat, which essentially "confit" cooks the meat while crisping the skin.
- Starch Gelatinization: The cornstarch and lemon pepper seasoning form a thin crust that hardens as the water evaporates, providing that signature "shatter" texture.
- Maillard Reaction Boost: Smoked paprika and garlic powder contain trace sugars and proteins that accelerate browning even in the absence of a flame.
| Doneness Level | Internal Temp | Rest Time | Visual Cue |
|---|---|---|---|
| Food Safe | 165°F | 2 mins | Juices run clear |
| Optimal/Tender | 190°F | 5 mins | Meat pulls easily from bone |
| Overcooked | 210°F+ | None | Skin looks dark/shriveled |
When you hit that 190°F mark, the collagen in the wings has fully broken down into gelatin. This is the difference between a wing that is "cooked" and a wing that melts in your mouth while the skin remains incredibly crunchy.
Component Analysis for Maximum Flavor
| Ingredient | Science Role | Pro Secret |
|---|---|---|
| Cornstarch | Moisture Absorber | Toss wings in a bag to ensure a micro thin, even coating that doesn't clump. |
| Lemon Pepper | Acid/Heat Balance | Choose a brand where black pepper is the first ingredient for a sharper, more rustic bite. |
| Smoked Paprika | Color Catalyst | The tiny amount of oil in paprika helps the heat penetrate the skin faster. |
Selecting the right ingredients doesn't mean spending more. In fact, buying "party style" wings where the flats and drums are already separated saves you time and often costs the same as whole wings when you factor in the weight of the discarded tips. If you're looking for another citrus forward chicken dish, my Honey Lemon Pepper Wings recipe uses a similar base with a sticky glaze finish.
Choosing the Best Value Wing Components
For this recipe, we are keeping it simple and effective. You don't need a 20 ingredient dry rub to get a complex flavor.
- 2 lbs chicken wings, party style: Why this? Separated pieces cook more evenly and provide more surface area for the crunch.
- Substitute: Whole wings (just cut them at the joints yourself to save a dollar).
- 1 tbsp neutral oil: Why this? Helps the seasonings stick without adding a heavy flavor like olive oil.
- Substitute: Melted clarified butter for a richer, movie theater popcorn vibe.
- 2 tbsp cornstarch: Why this? The MVP of crispiness in a standard home oven.
- Substitute: Baking powder (aluminum free), but it can sometimes leave a metallic aftertaste.
- 1 tsp kosher salt: Why this? Larger crystals provide a more controlled seasoning than fine table salt.
- Substitute: Sea salt or 3/4 tsp table salt.
- 1/2 tsp black pepper: Why this? Freshly cracked adds a floral heat that pre ground pepper lacks.
- Substitute: White pepper for a more subtle, earthy heat.
- 1 tsp garlic powder & 1 tsp onion powder: Why this? Provides a savory base that permeates the skin during the roast.
- Substitute: Granulated garlic or onion works too, just use slightly more.
- 1 tbsp lemon pepper seasoning: Why this? Adds the bright acidity needed to cut through the fatty skin.
- Substitute: Grated lemon zest mixed with extra black pepper.
- 1/2 tsp smoked paprika: Why this? Adds a beautiful mahogany color and a hint of wood fired flavor.
- Substitute: Sweet paprika or a pinch of cayenne if you want a kick.
Essential Kitchen Tools for Maximum Airflow
To get that "fried" result, we need the hot air to circulate under the wings, not just over them. If you lay the wings directly on a flat baking sheet, the bottom side will sit in its own juices and turn into a soggy mess. I've made this mistake more times than I care to admit.
You'll need a large rimmed baking sheet the heavy duty ones are best because they don't warp at 400°F. More importantly, you need a wire cooling rack that fits inside that sheet. This "elevation" strategy is the single most important part of the setup.
It allows the heat to hit the bottom of the wing, crisping it up simultaneously with the top.
Chef Tip: Line the bottom of the baking sheet with aluminum foil before putting the wire rack on top. The fat from the wings will drip down, and the foil makes cleanup as simple as crumpling up a ball. No scrubbing required!
A step-by-step Path to Golden Skin

- Prep the chicken. Pat the 2 lbs of chicken wings with paper towels until they are bone dry. Note: Surface moisture is the enemy of a crispy crust; any water will create steam.
- Apply the oil. Place wings in a large bowl and drizzle with 1 tbsp neutral oil. Note: This acts as the "glue" for your dry ingredients.
- Mix the coating. In a small ramekin, whisk together 2 tbsp cornstarch, 1 tsp salt, 1/2 tsp pepper, 1 tsp garlic powder, 1 tsp onion powder, 1 tbsp lemon pepper, and 1/2 tsp smoked paprika.
- Coat the wings. Sprinkle the seasoning mix over the wings and toss vigorously. Toss until no white clumps of cornstarch remain visible.
- Arrange on rack. Place the wings on the wire rack over a foil lined sheet. Note: Leave at least half an inch of space between each wing for airflow.
- First roast phase. Place in a preheated 400°F oven for 20 minutes. Bake until the fat begins to bubble and hiss.
- The flip. Use tongs to carefully flip each wing. Note: This ensures the wire rack marks don't get too deep and the skin cooks evenly.
- Final roast phase. Bake for another 20 to 25 minutes. Cook until the skin is deep golden brown and feels firm to the touch.
- The rest. Let the wings sit on the rack for 5 minutes before serving. Note: This allows the internal juices to redistribute and the crust to fully "set."
Common Pitfalls and How to Avoid Sogginess
The biggest mistake I see people make is overcrowding the pan. When you jam 2 lbs of wings onto a small rack, you create a micro climate of steam. Instead of roasting, the wings end up boiling in their own humidity. If you have a small oven, it's better to use two sheets than to crowd one.
Why Your Wings Aren't Crunchy
Sometimes things don't go as planned. Maybe the oven temperature is off, or the chicken had too much hidden moisture. It's frustrating when you're expecting a "shatter" and get a "chew."
| Problem | Root Cause | Solution |
|---|---|---|
| Rubbery Skin | Temperature too low | Increase oven to 425°F for the last 10 minutes. |
| Salty Aftertaste | Salt heavy lemon pepper | Use a "salt free" lemon pepper blend and add your own salt. |
| Clumpy Coating | Added starch to wet wings | Ensure wings are "desert dry" before adding any oil or starch. |
Common Mistakes Checklist
- ✓ Never skip the "pat dry" step this is the most frequent cause of failure.
- ✓ Don't use olive oil; its low smoke point can create a bitter flavor at 400°F.
- ✓ Check that your cornstarch isn't expired, as it can lose its moisture wicking power.
- ✓ Avoid using a glass baking dish; it doesn't conduct heat as effectively as metal for this recipe.
- ✓ Ensure your oven is fully preheated before the wings go in don't rush it!
Customizing Your Flavor Profile with Ease
This recipe is incredibly versatile. If you want to scale this up for a larger family gathering, the math is simple, but there are a few rules to keep the quality high. If you're doubling the recipe to 4 lbs, use two separate baking sheets. Do not try to fit them all on one tray.
Scaling Guidelines
- Scaling Down (1 lb): Use a smaller toaster oven sized rack and reduce total bake time by about 5-8 minutes.
- Scaling Up (4 lbs): Keep seasonings at 2x, but check the wings at 40 minutes as the extra mass in the oven might require an extra 5 minutes of cook time.
- Baking Multiple Trays: Swap the top and bottom tray positions halfway through to account for oven hot spots.
| Servings | Chicken Amount | Cornstarch | Bake Time |
|---|---|---|---|
| 2 People | 1 lb | 1 tbsp | 40 mins |
| 4 People | 2 lbs | 2 tbsp | 45 mins |
| 8 People | 4 lbs | 4 tbsp | 50-55 mins |
For those looking for a different flavor profile entirely, you could follow this same crispy technique but swap the lemon pepper for the aromatics used in my Butter Chicken Ready recipe for an Indo fusion twist.
Debunking the Baking Soda Hype
There is a popular internet trend that suggests using baking soda instead of cornstarch. While baking soda does raise the pH level of the skin to help it brown, it often leaves a chemical, metallic tang that ruins the flavor of the meat. Cornstarch provides the same structural crunch without the unpleasant aftertaste.
Another myth is that you need to par boil wings before baking. This actually adds moisture to the skin, which is exactly what we are trying to avoid. over High heat roasting on a rack is more than sufficient to render the fat and achieve a perfect texture without the extra step of boiling.
Safe Storage and Quality Reheating Methods
If you somehow have leftovers which rarely happens in my house you need to store them properly to maintain that hard earned texture. Place them in an airtight container once they have cooled to room temperature. They will stay good in the fridge for up to 4 days.
For zero waste cooking, don't throw away the bones! I keep a gallon sized freezer bag specifically for wing bones. Once the bag is full, I simmer them with some onion scraps and carrots to make a rich, roasted chicken stock. It's a great way to squeeze every cent of value out of your grocery haul.
- Fridge: Store for 3-4 days in a sealed container.
- Freezer: Freeze on a tray first, then transfer to a bag for up to 3 months.
- Reheating: Avoid the microwave! It will turn the skin into rubber. Instead, put them back on a wire rack in a 375°F oven for 8-10 minutes until they sizzle again.
What to Serve for a Family Feast
These wings are the star of the show, but they play well with others. Since the oven is already at 400°F, you can toss some potato wedges or carrot fries on a separate tray during the last 20 minutes of cooking.
For dipping, a simple Greek yogurt based ranch or a blue cheese dressing works beautifully to cool down the lemon pepper heat. If you're feeling adventurous, a side of crisp celery and carrot sticks provides a fresh contrast to the rich, fatty wings.
If you need a more substantial side, consider a quick stovetop mac and cheese or a refreshing slaw.
Three Ways to Pivot
- If you want it spicy: Add 1/2 tsp of cayenne pepper to the dry rub.
- If you want it sweet: Toss the finished, hot wings in a mixture of 2 tbsp honey and 1 tbsp melted butter.
- If you want it "Pub Style": Serve with extra lemon wedges to squeeze over the skin right before the first bite.
The beauty of this Baked Chicken Wings Recipe is its reliability. Once you understand the airflow and the moisture management, you can produce better wings than most sports bars for a fraction of the cost. Right then, let's get those wings in the oven! Your family is going to love the crunch.

Recipe FAQs
What is the best method for cooking wings in the oven?
Use a wire rack set inside a rimmed baking sheet. This maximizes airflow around the entire wing, allowing fat to render and skin to crisp evenly without steaming on the pan surface.
Should chicken wings be at 350 or 400?
Start at 400°F for 20 minutes, then check for deep browning. High heat is essential for rendering fat quickly; if they aren't brown enough, increase the temperature slightly to finish.
Should I bake my wings covered or uncovered?
Uncovered always. Covering the wings traps moisture, which results in steaming and prevents the skin from developing any crispiness whatsoever.
What is the secret ingredient for crispy chicken wings?
Cornstarch is the primary secret ingredient for crispiness. It absorbs surface moisture, allowing the skin to dehydrate rapidly in the high heat, creating a shatteringly crisp crust.
How do I ensure the bottom of my baked wings don't get soggy?
Elevate the wings above the pan using a wire rack. This separates the meat from the dripping fat, ensuring hot air circulates underneath them as they bake.
Can I substitute cornstarch with baking powder for crispiness?
No, you should use cornstarch instead of baking powder. While baking powder raises pH for browning, it often imparts an unpleasant metallic or chemical flavor to the finished meat.
How long should I bake wings before flipping them?
Bake them for 20 minutes before flipping. This first phase allows the exterior to set up properly, and flipping ensures both sides achieve that deep golden brown color and texture.
Crispy Baked Chicken Wings
Ingredients:
Instructions:
Nutrition Facts:
| Calories | 481 calories |
|---|---|
| Protein | 39.4g |
| Fat | 27.7g |
| Carbs | 4.9g |
| Fiber | 0.4g |
| Sugar | 0.2g |
| Sodium | 625mg |
