Skillet Recipe for Fried Apples
- Time: Active 10 minutes, Passive 15 minutes, Total 25 minutes
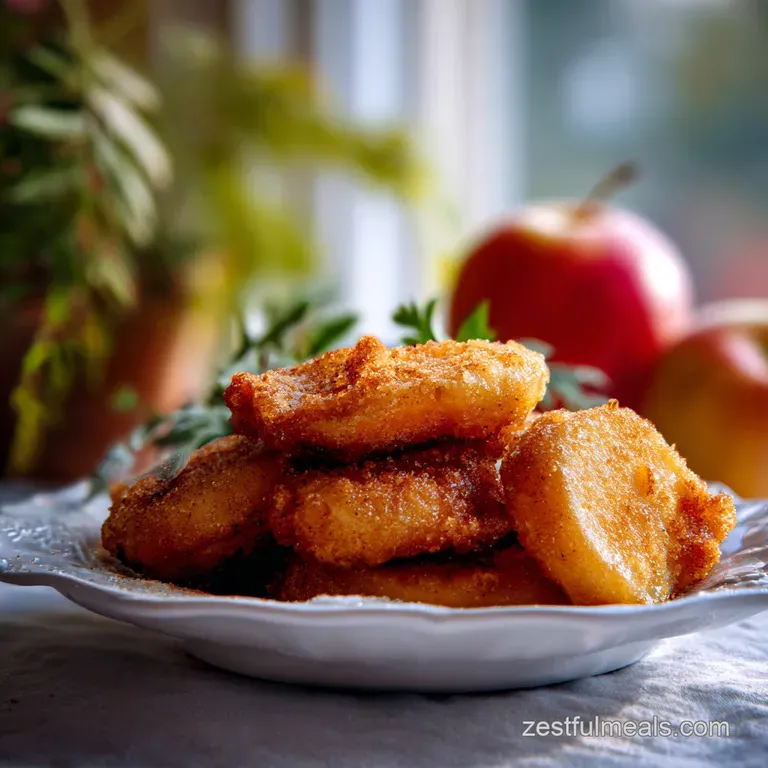
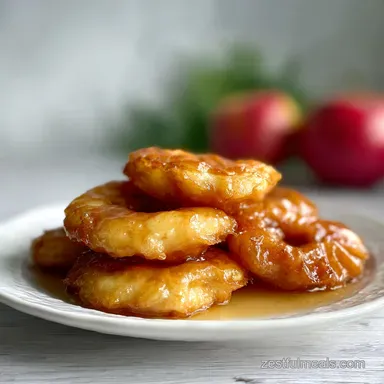
- Flavor/Texture Hook: Tender crisp apple slices bathed in a velvety, warm caramel glaze
- Perfect for: budget-friendly family weeknights, holiday side dishes, or a simple topping for pancakes
- How to Make the Best Family Recipe for Fried Apples
- Why This Pan Method Works
- Quick Stats for Busy Families
- Affordable Ingredients for Your Kitchen
- Essential Tools for Better Cooking
- Simple Steps for Golden Fruit
- Solving Common Apple Cooking Issues
- Easy Swaps for Every Diet
- Saving Leftovers for Later Meals
- Best Pairings for Sweet Apples
- Practical Fixes for Common Problems
- Recipe FAQs
- 📝 Recipe Card
How to Make the Best Family Recipe for Fried Apples
The sizzle of cold butter hitting a hot Lodge cast iron skillet is the first sign that something special is happening in the kitchen. Then comes the scent, that warm, spicy cloud of cinnamon and nutmeg that brings everyone running to see what’s for dinner.
I started making this recipe for fried apples years ago when my grocery budget was tight but my kids were begging for something that tasted like a treat. It turns out that a few tart apples and some pantry staples can create a side dish that rivals anything you’d find at a fancy restaurant.
This isn’t just about cooking fruit; it is about creating a syrup that clings to every slice without making the fruit turn into baby food. We’ve all had those mushy, watery apples that lack character, but this method ensures a bit of "shatter" to the bite while the inside remains silky.
It’s the ultimate budget friendly win because you likely have everything except the apples in your cupboard right now.
We are going for that classic, warm feeling of home cooked comfort. Whether you grew up eating these at a diner or this is your first time trying them, the result is a reliable crowd pleaser. I’ve made the mistake of using the wrong apples before, and let me tell you, Red Delicious will fail you every time here.
Stick with me, and we’ll get that golden, glossy finish that makes this dish the star of the table.
Why This Pan Method Works
This recipe for fried apples relies on a few key interactions between heat and acid to get the texture just right. We aren't just boiling fruit in sugar; we are carefully managing the structural integrity of the apple while building a complex caramel.
It is a balance of keeping things firm enough to stab with a fork but soft enough to melt on your tongue.
- Pectin Reinforcement: Adding fresh lemon juice provides acidity that strengthens the pectin in the cell walls, preventing the slices from collapsing into mush.
- Hygroscopic Action: The light brown sugar acts as a humectant, drawing out just enough apple juice to create a self basting syrup without needing added water.
- Maillard Reaction: Searing the fruit in unsalted butter before adding sugar creates a base layer of toasted flavor that deepens the overall profile.
- Starch Suspension: Natural starches released from the fruit help to thicken the butter and sugar into a velvety glaze rather than a thin liquid.
Chef's Tip: Freeze your butter for 10 minutes before slicing it into the pan. This allows the water content in the butter to evaporate more slowly, giving the apples a longer window to sear before the fats begin to brown too deeply.
Focus on Structural Integrity
Choosing the right fruit is the most important step for this fried apple recipe. You need an apple that can handle 15 minutes of heat without losing its shape. Granny Smith is the gold standard because its high acidity balances the heavy sugar, and its dense flesh holds up under the weight of the caramel.
If you use a softer variety, you'll end up with applesauce, which might be tasty, but it isn't what we are looking for today.
Creating a Velvety Glaze
The magic happens when the vanilla and salt hit the pan at the very end. Salt might seem odd in a sweet dish, but it cuts through the cloying nature of the sugar and makes the cinnamon pop. Using a pure vanilla extract like Nielsen Massey ensures that the floral notes aren't lost in the heat.
| Component | Science Role | Pro Secret |
|---|---|---|
| Granny Smith Apples | Acidic Density | Slice them into uniform 1/2 inch wedges for even cooking. |
| Light Brown Sugar | Moisture Control | Use packed sugar to ensure the molasses content creates a sticky glaze. |
| Unsalted Butter | Fat Emulsifier | Start with a cold pan to slowly render the butter and coat every slice. |
| Lemon Juice | Pectin Stabilizer | Toss the apples immediately after slicing to prevent enzymatic browning. |
Quick Stats for Busy Families
When you are trying to get dinner on the table, every minute counts. This dish is great because it cooks in about the same time it takes to sear some pork chops or finish a One Pan Chicken recipe. I often start the apples right after I put my main protein in the oven. By the time the meat is resting, the apples are bubbling and ready to serve.
One of the things I love about homemade fried apples is how well it scales. If I have a few extra kids at the table, I just grab two more apples and a bit more butter. It’s a very forgiving process.
Just remember that if you crowd the pan too much, the apples will steam instead of fry, so use a large enough skillet to give them some breathing room.
| Feature | Fresh Apples | Canned Filling |
|---|---|---|
| Texture | Firm and tender crisp | Soft and gelatinous |
| Flavor | Bright, tart, and spiced | High sugar, muted fruit |
| Cook Time | 25 minutes | 5 minutes |
Affordable Ingredients for Your Kitchen
The beauty of this recipe for fried apples is its simplicity. We are using 4 large Granny Smith apples, which should weigh in at approximately 800g. If you see a sale on apples, grab a bag! These keep for weeks in the fridge, making this a reliable back pocket side dish.
- 4 large Granny Smith apples (800g): Why this? Provides the necessary tartness and firm structure for frying.
- 1 tbsp fresh lemon juice: Why this? Keeps apples bright and prevents them from softening too fast.
- 4 tbsp unsalted butter: Why this? Adds a rich, creamy mouthfeel and helps sear the fruit.
- 1/2 cup light brown sugar, packed: Why this? The molasses adds a deep caramel flavor white sugar lacks.
- 1 tsp ground cinnamon: Why this? The classic aromatic that defines this Southern dish.
- 1/4 tsp ground nutmeg: Why this? Adds an earthy complexity to the sweetness.
- 1/8 tsp fine sea salt: Why this? Balances the sugar and enhances the fruit flavor.
- 1 tsp pure vanilla extract: Why this? Adds a final layer of warmth and aroma.
| Original Ingredient | Substitute | Why It Works |
|---|---|---|
| Unsalted Butter | Coconut Oil | Provides fat for searing; adds a slight tropical nuttiness. |
| Light Brown Sugar | Maple Syrup | Liquid sweetener that offers a woodsy, autumnal flavor profile. |
| Granny Smith Apples | Honeycrisp | Stays firm but is much sweeter; reduce added sugar by 2 tbsp. |
Essential Tools for Better Cooking
You don't need fancy gadgets for this, but the right pan makes a massive difference. I swear by my 12 inch Lodge Cast Iron Skillet for any fried apple recipe. Cast iron holds heat better than stainless steel, which means once those apples hit the pan, the temperature doesn't drop.
This is how you get that beautiful golden sear rather than just boiling the fruit in its own juices.
A good vegetable peeler is also helpful if you prefer your apples peeled, though I often leave the skins on for extra fiber and color. My kids actually prefer the skins on because they add a nice bit of texture. If you are peeling, use a sharp Y peeler to save time and prevent hand fatigue.
Preparing the Fruit Base
Start by washing your 800g of apples thoroughly. I like to use a corer to remove the center in one go, then slice each apple into 1/2 inch wedges. If they are too thin, they’ll disappear into the sauce; too thick, and they won't cook through by the time the sugar starts to caramelize.
Toss them in a bowl with that 1 tbsp of lemon juice immediately. This little trick stops the oxygen from turning them brown before they even hit the heat.
Making the Caramel Glaze
The glaze is a simple emulsion of butter, apple juices, and brown sugar. It happens right in the pan. You'll notice the liquid looks thin at first, but as the water evaporates and the sugar melts, it transforms into a glossy coating.
Don't be tempted to add cornstarch; the natural pectin in the apples will do the work for you if you just give it 15 minutes of patience.
Simple Steps for Golden Fruit

Follow these steps closely to ensure your cinnamon fried apples come out perfect every time.
- Prep the apples. Core and slice the 4 large Granny Smith apples into 1/2 inch wedges.
- Acidify the fruit. Toss the slices with 1 tbsp lemon juice in a large bowl. Note: This prevents browning.
- Melt the butter. Place 4 tbsp unsalted butter in a large skillet over medium heat until bubbling and fragrant.
- Sear the apples. Add the apple wedges to the pan in a single layer if possible.
- Develop color. Cook for 5 minutes without stirring much until the edges show a light golden brown.
- Add the sweeteners. Sprinkle 1/2 cup light brown sugar, 1 tsp cinnamon, 1/4 tsp nutmeg, and 1/8 tsp sea salt over the fruit.
- Simmer and glaze. Stir gently and cook for 10 minutes until the sauce is thick and apples are tender.
- Finish with aroma. Remove from heat and stir in 1 tsp pure vanilla extract. Note: Adding vanilla at the end preserves its flavor.
- Rest the dish. Let the apples sit for 2 minutes before serving to allow the glaze to set.
- Check the texture. The apples should be easily pierced with a fork but not falling apart.
Solving Common Apple Cooking Issues
Sometimes things go sideways in the kitchen, especially if the heat is too high or the apples are a bit older and drier. Don't panic; most issues with this recipe for fried apples are easily fixed with a quick adjustment.
Fixing Soft Mushy Apples
If you notice your apples are getting too soft before the sauce has thickened, remove the fruit with a slotted spoon and set it aside. Crank the heat on the remaining liquid and boil it down until it reaches that thick, syrupy consistency. Then, gently fold the apples back in.
This prevents them from overcooking while you fix the glaze.
| Problem | Root Cause | Solution |
|---|---|---|
| Sauce is watery | Not enough evaporation | Simmer uncovered for 3-5 more minutes. |
| Apples are tough | Slices were too thick | Cover the pan with a lid for 2 minutes to steam soften. |
| Sugar is grainy | Sugar didn't dissolve | Add 1 tsp of water and stir constantly on low heat. |
Chef's Tip: If you want a deeper flavor, add a pinch of espresso powder to the sugar mix. It won't taste like coffee, but it makes the chocolatey notes of the brown sugar explode.
Easy Swaps for Every Diet
We often have to adjust recipes for friends or family with specific needs. My sister is vegan, so I’ve mastered the plant based version of this dish many times. It’s actually one of the easiest recipes to adapt because the fruit is already the star.
Vegan and dairy-free Needs
To make this vegan friendly, swap the unsalted butter for a high-quality vegan butter stick or refined coconut oil. If using coconut oil, the 1/8 tsp sea salt is even more important to mimic the savory depth of butter. You can also try this as a topping for Healthy Meal Prep Bowls recipe if you're doing a sweet breakfast prep for the week.
Time Saving Alternative Methods
If you are in a rush, you can try air fryer fried apples. Toss the sliced apples, lemon juice, melted butter, and spices in a bowl, then air fry at 190°C (375°F) for 10-12 minutes, shaking the basket halfway through.
You won't get the same thick pan sauce, but the fruit will be beautifully caramelized and tender in record time.
- For a Lower Sugar Profile: Replace the brown sugar with a monk fruit sweetener blend. It holds up well to the heat without an aftertaste.
- For a Savory Twist: Try making fried apples and onions. Reduce the sugar to 1 tbsp and add half a sliced yellow onion to the butter at the start. It's incredible with roast pork.
Saving Leftovers for Later Meals
I almost always make a double batch of these because they are just as good the next day. They stay fresh in the fridge for up to 4 days when stored in an airtight container. The sauce will thicken and become almost jelly like when cold, which is totally normal.
- Reheating: Put the apples back in a small skillet over low heat with a splash of water or apple juice. This thins the glaze back out without burning the sugar.
- Freezing: You can freeze these for up to 3 months. Let them cool completely, then flat pack them in a freezer bag. Thaw in the fridge overnight before reheating.
- Zero Waste: Don't throw away the apple peels! Toss them with a little cinnamon sugar and bake them at 150°C (300°F) for 15 minutes for a crunchy, healthy snack.
Best Pairings for Sweet Apples
Fried apples are incredibly versatile. In my house, we serve them as a side dish for Sunday dinner, but they also double as a dessert. If you are looking for a show stopper, serve them warm over a bowl of vanilla bean ice cream.
Savory Southern Feast Pairings
These are the "Cracker Barrel fried apples" style side that belongs next to a pile of mashed potatoes and some fried chicken. The acidity of the Granny Smiths cuts through the fat of fried foods perfectly. They also pair beautifully with a salty ham steak for a classic breakfast for-dinner vibe.
Decadent Dessert Serving Ideas
For something truly special, use these apples as a filling for a quick tart or as a topping for a Cool Whip Frosting Pudding recipe. The contrast between the warm, spiced fruit and the cool, creamy pudding is a match made in heaven. You can also spoon them over thick slices of French toast for a brunch that will have everyone asking for seconds.
- Numeric Checkpoint 1: Ensure your apple wedges are exactly 1/2 inch thick for the best texture.
- Numeric Checkpoint 2: Maintain a pan temperature that keeps the butter bubbling but not smoking.
- Numeric Checkpoint 3: The final internal temp of the apples should be around 85°C (185°F) for that perfect "tender crisp" feel.
Practical Fixes for Common Problems
I get a lot of questions about how to get that signature "diner style" finish. It really comes down to the sugar to butter ratio and the type of pan you use. If you follow this recipe for fried apples exactly, you should avoid the most common pitfalls.
To Peel or Not?
Peeling is a personal choice. My grandmother always peeled hers, but I find the skin adds a beautiful ruby or emerald edge to the dish. If you do leave the skins on, just make sure you wash them well to remove any wax. If you're going for a more refined, elegant look, peeling is the way to go.
make-ahead Holiday Tips
If you are making these for Thanksgiving or Christmas, you can prep the apples and lemon juice in the morning and keep them in a sealed bag in the fridge. When it's time to serve, they only take 15 minutes on the stove.
This keeps your oven free for the turkey or ham, which is a massive win for holiday logistics.
- Thin Runny Sauce Fixes: If your sauce isn't thickening, it’s likely because the apples released too much water. Just keep simmering! The water has to go somewhere, and once it evaporates, the sugar will thicken.
- Using White Sugar Instead: You can use white sugar if you're out of brown, but I recommend adding a teaspoon of molasses if you have it. If not, increase the cinnamon slightly to compensate for the lost depth.
- Fixing Stubborn Crunchy Apples: If 15 minutes have passed and they are still too hard, add 2 tablespoons of water and cover the pan for 3 minutes. The steam will finish the job.
This homemade fried apples recipe is a staple in my kitchen because it's fast, cheap, and everyone loves it. It's the kind of dish that makes a simple Tuesday night feel like a special occasion. Give it a try, and I promise it'll become a regular in your rotation too!

Recipe FAQs
How to make homemade fried apples?
Yes, it’s best done on the stovetop. Slice firm apples like Granny Smith into 1/2 inch wedges, sear them in butter over medium heat, then cook them gently with brown sugar, cinnamon, and a touch of lemon juice until the sauce thickens.
How long do you cook fried apples?
About 15 minutes of cooking time is ideal. You cook them in two stages: about 5 minutes to sear them in butter, and then another 10 minutes after adding the sugar to allow the glaze to reduce and coat the fruit properly.
How do I cook fried apples to prevent them from getting mushy?
Use firm apples and add acid early. Tossing the slices with lemon juice strengthens the pectin, helping the apples maintain their structure during the cooking process. If you enjoyed mastering this texture control here, see how the same principle of acid/base management keeps structure in our Simple No Bake Cheesecake: Silky & Tangy.
What is the secret to making the glossy glaze for fried apples?
The secret is evaporation, not added thickeners. Let the mixture simmer uncovered after adding the sugar so that the water content from the apples boils off, allowing the butter and sugar to combine into a velvety, clinging syrup.
Can I use sweeter apples like Honeycrisp instead of Granny Smith?
Yes, but reduce the sugar content. Honeycrisp apples hold their shape well but are much sweeter; if you substitute, cut the added brown sugar by about 2 tablespoons to maintain the crucial sweet tart balance.
How do you make fried apples without dairy butter?
Use refined coconut oil or a vegan butter stick. Refined coconut oil works well because it has a higher smoke point than unrefined oil, which gives you time to sear the apples before the fat burns.
How should I serve homemade fried apples?
Serve them warm as a side dish or dessert topping. They pair wonderfully with salty savory dishes like pork chops, much like how savory sides complement main courses in our Easy Slow Cooker Pot Roast: Fork Tender.
Fried Apples Skillet Recipe
Ingredients:
Instructions:
Nutrition Facts:
| Calories | 303 kcal |
|---|---|
| Protein | 0.6 g |
| Fat | 11.7 g |
| Carbs | 52.4 g |
| Fiber | 4.8 g |
| Sugar | 45.1 g |
| Sodium | 80 mg |
