Potato Flake Sourdough Starter
- Time: Active 10 minutes, Passive 5 days, Total 5 days 10 mins
- Flavor/Texture Hook: Yeasty, tangy, and effervescent
- Perfect for: Beginner bakers wanting a low maintenance, reliable bread base
- Reliable Potato Flake Sourdough Starter Success
- The Science of Yeast Fermentation
- Required Ingredients and Smart Substitutions
- Essential Tools for Successful Baking
- The Master Five Day Timeline
- Fixing Common Fermentation Growth Problems
- Dietary Adaptations and Flour Alternatives
- Storage and Zero Waste Practices
- What to Serve with Sourdough
- Recipe FAQs
- 📝 Recipe Card
Reliable Potato Flake Sourdough Starter Success
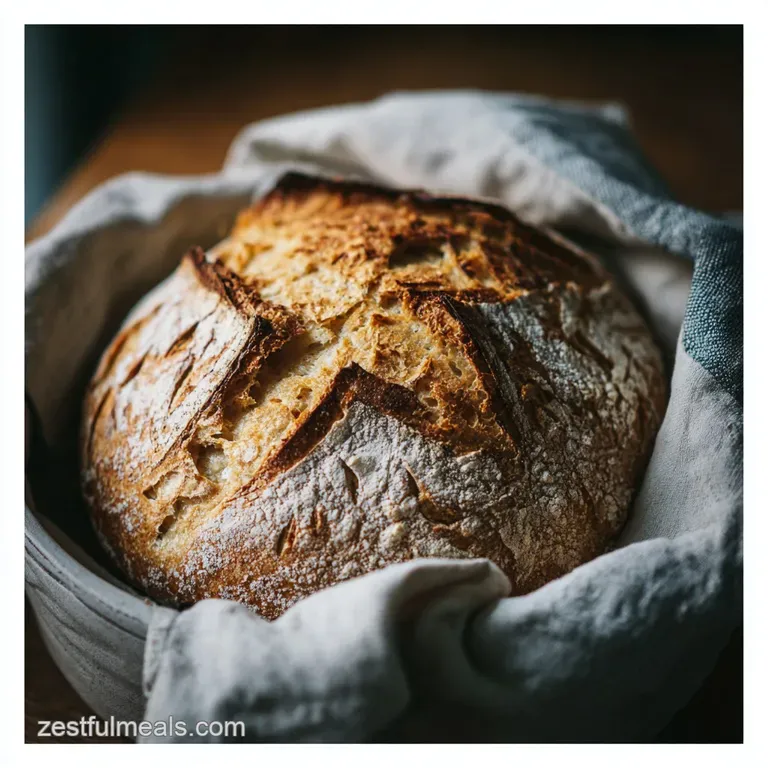
There is nothing quite like the sharp, yeasty aroma of a fresh Potato Flake Sourdough Starter bubbling away on your counter. It is a scent that reminds me of my grandmother's kitchen, where a glass jar was always tucked into a warm corner, promising soft, pillowy rolls for Sunday dinner.
If you have ever felt intimidated by the fussy nature of a traditional flour and water starter, this version is going to be your new best friend. It is incredibly hardy, and honestly, much harder to kill than the "wild" versions that require constant monitoring and precise hydration ratios.
I remember the first time I tried making a starter from scratch. I was so worried about the "float test" and the exact gram weight of my flour that I ended up overthinking the entire process and tossing out three batches before one finally took. This potato flake method removes that anxiety. Because we are using commercial active dry yeast as a "jumpstart," we are essentially building a specialized environment where the yeast can thrive and evolve over a five day period. It is more about patience than it is about precision, and the result is a starter that produces a distinctive, slightly sweet crumb that pairs beautifully with a Mushroom Bisque Soup recipe.
What makes this specific culture so special is the consistency. Because we are using processed potato flakes, we are providing a standardized starch source every time we feed it. This means your bread will have a predictable rise and a velvety texture that is hard to achieve with erratic wild yeasts.
Whether you are a self taught baker or someone who has failed at traditional sourdough before, this approach offers a clear path to success. We are going to walk through every step of this five day journey together, from the initial activation to that first glorious feeding.
The Science of Yeast Fermentation
Polysaccharide Breakdown: The potato flakes provide easily accessible starches that the yeast enzymes break down into glucose, fueling rapid cellular respiration.
Osmotic Pressure: High sugar concentrations create an environment that selects for specific yeast strains, resulting in a sweeter, more stable fermentation compared to flour starters.
| Method | Time | Texture | Best For |
|---|---|---|---|
| Potato Flake Method | 5 days | Soft, velvety crumb | Sweet breads, dinner rolls |
| Classic Flour Method | 7-14 days | Chewy, large holes | Artisanal boules, crusty loaves |
| Commercial Fast Rise | 2 hours | Airy, less complex | Last minute sandwich bread |
The difference between these methods really comes down to how the yeast interacts with its food source. In our potato based version, the yeast does not have to work as hard to access the nutrients, which leads to a faster "vigorous" state.
This is especially helpful if your kitchen tends to be on the cooler side, as the sugar boost helps maintain activity even when the ambient temperature is not ideal.
Required Ingredients and Smart Substitutions
The beauty of this recipe lies in its simplicity. Every component has a specific job, from providing the structural food to maintaining the hydration levels. When I first started, I tried using leftover mashed potatoes instead of flakes, and let me tell you, that was a messy mistake.
The flakes are essential because they are dehydrated and consistent, ensuring you do not introduce unwanted bacteria or excess moisture that could throw off the balance of your culture.
| Component | Science Role | Pro Secret |
|---|---|---|
| Instant Potato Flakes | Starch Source | Use unflavored flakes to avoid garlic or onion notes in your bread |
| Granulated Sugar | Primary Fuel | high-quality cane sugar provides the cleanest fermentation profile |
| Active Dry Yeast | Biological Catalyst | Ensure the water is exactly 110°F to wake the yeast without killing it |
When gathering your supplies, make sure you have the following ready to go. I have included a few substitutions just in case your pantry is missing an item, though for the first time build, sticking to the original list is usually the safest bet for a successful fermentation.
- 1 cup warm water (110°F/43°C) for activation: Necessary for waking up the dormant yeast. Why this? Proper temperature ensures immediate metabolic activity without thermal shock.
- Substitute: Filtered room temperature water (will just take longer to activate).
- 2.25 tsp active dry yeast: The engine of your starter. Why this? Provides a reliable, consistent base for the culture to grow from.
- Substitute: One packet of instant yeast (omit the 10 minute bloom time).
- 0.75 cup granulated sugar for activation: The primary energy source. Why this? Feeds the yeast quickly to establish a strong colony.
- Substitute: Raw sugar (will add a slight molasses undertone and darken the starter).
- 3 tbsp unflavored instant potato flakes for activation: The structural starch. Why this? Provides the "body" and long term nutrients for the yeast.
- Substitute: Dehydrated potato flour (use 2 tbsp as it is more concentrated).
- 1 cup warm water (110°F/43°C) for feeding: Maintains the hydration levels.
- 0.75 cup granulated sugar for feeding: Replenishes the energy used during the 5 day wait.
- 3 tbsp unflavored instant potato flakes for feeding: Adds fresh starch for the next cycle of growth.
Essential Tools for Successful Baking
You do not need a laboratory full of equipment to make a great starter, but there are a few things that will make your life much easier. First and foremost, you need a non reactive container. Glass is the gold standard here.
I personally use a wide mouth quart jar because it allows the starter to "breathe" while giving me a clear view of the bubble activity. Avoid metal bowls or spoons for long term storage, as the acidity of the fermentation can react with the metal and give your bread a strange, metallic tang.
A reliable kitchen thermometer is another non negotiable for me. I once thought I could "feel" 110°F (43°C) and ended up using water that was far too hot, which essentially cooked my yeast before it even had a chance to bubble. It was a sad, quiet jar of beige water.
Now, I always check the temp before the yeast touches the liquid. You will also want a breathable cover think cheesecloth, a clean kitchen towel, or even a coffee filter held on with a rubber band. This keeps dust and fruit flies out while allowing the gases to escape.
Chef's Note: If you are using a glass jar, mark the initial level of your starter with a rubber band on the outside. This makes it incredibly easy to see exactly how much it has expanded overnight.
The Master Five Day Timeline
This process is broken down into two distinct phases: activation and maintenance. Unlike a Simple Tomato Soup recipe that yields results in under an hour, this starter requires you to act as a caretaker for a few days. Don't worry, though; the actual "work" only takes a few minutes. The rest is just letting nature take its course on your countertop.
Initial Starter Activation Steps
- Measure the water. Pour 1 cup of warm water (110°F/43°C) into a clean glass jar. Check the temperature with a thermometer to ensure it is not too hot.
- Bloom the yeast. Sprinkle the 2.25 tsp active dry yeast over the water. Note: Let it sit for about 5 minutes until it looks foamy and smells like a brewery.
- Incorporate solids. Whisk in the 0.75 cup granulated sugar and 3 tbsp instant potato flakes. Stir until the sugar has completely dissolved and no large lumps of potato remain.
- Cover loosely. Place a piece of cheesecloth or a paper towel over the top and secure it with a rubber band.
- Find a home. Set the jar in a warm, draft free spot in your kitchen. Note: On top of the refrigerator is often a great spot due to the ambient heat from the motor.
- Wait 5 days. Let the mixture ferment undisturbed. Stir the starter once every day using a wooden or plastic spoon to redistribute the yeast.
First Maintenance Feeding Cycle
- Prepare the feed. After 5 days, the starter should look cloudy and have a layer of sediment at the bottom.
- Add fresh nutrients. Stir in the additional 1 cup warm water, 0.75 cup sugar, and 3 tbsp potato flakes. Mix until the new ingredients are fully integrated.
- Allow to peak. Let the starter sit out for another 8 to 12 hours. Wait until you see active bubbling on the surface before using it in a bread recipe.
- Store or bake. You can now take out what you need for a recipe (usually 1 cup) and move the rest to the refrigerator.
Fixing Common Fermentation Growth Problems
Even with a reliable recipe, sometimes things go sideways. The most common issue I see is a starter that just looks "lazy" it is not bubbling, and it looks like a stagnant pool of cloudy water. Usually, this is a temperature issue.
If your house is below 68°F (20°C), the yeast enters a semi dormant state. It is not dead; it is just napping. You can often wake it up by moving it to a slightly warmer spot or wrapping the jar in a thick towel.
Correcting Alcohol Separation (Hooch)
If you see a clear or dark liquid forming on the top of your starter, do not panic. This is "hooch," which is naturally occurring alcohol. It is a sign that your starter is hungry and has processed all the available sugar.
You can either stir it back in for a more sour flavor or pour it off if you prefer a milder taste. After you see hooch, it is a clear signal that you need to feed your starter immediately.
Identifying a "Dead" Starter
A healthy starter should smell yeasty, sweet, or slightly vinegary. If you open your jar and it smells like gym socks or has visible fuzzy mold (black, green, or pink) on the surface, it is time to say goodbye.
This usually happens if the jar was not clean or if the starter was left at room temperature for too long without a feeding. When in doubt, toss it out and start fresh it is better to lose 10 minutes of prep than to ruin a whole loaf of bread.
| Problem | Root Cause | Solution |
|---|---|---|
| Liquid on top | Underfeeding | Stir it in and perform a full feeding immediately |
| No bubbles after 24h | Water too cold or too hot | Check water temp (110°F) and move jar to a warmer spot |
| Sharp, "off" smell | Bacterial contamination | Clean all tools thoroughly and restart the activation |
Similar to the precision needed for a Fried Pickle Dipping recipe, the balance of acidity and sweetness here is key. If the starter becomes too acidic, the yeast will struggle to thrive.
Common Mistakes Checklist
- ✓ Never use tap water if it has a heavy chlorine scent (it can inhibit yeast growth).
- ✓ Avoid airtight lids during the room temperature phase to prevent gas buildup.
- ✓ Do not use "flavored" potato flakes (sour cream and onion sourdough is not a win).
- ✓ Always use a clean spoon every time you stir the jar to prevent mold.
- ✓ Label your jar with the date so you don't forget when it was last fed.
Dietary Adaptations and Flour Alternatives
One of the best things about this starter is its versatility. While the starter itself is naturally gluten-free (assuming your potato flakes are certified), the bread you make with it usually involves flour.
If you are looking to make a gluten-free potato flake sourdough starter, you are already halfway there. Just ensure your potato flakes are 100% potato with no additives.
When it comes time to bake, you can use this starter with a high-quality gluten-free flour blend, though the rise will be denser than traditional wheat bread.
For those looking to reduce the sugar content, you can experiment by cutting the sugar back to 0.5 cup, but be aware that this will significantly slow down the fermentation process.
The sugar is the primary "food," so reducing it is like putting your yeast on a diet they will be less active and your bread will take much longer to rise. If you do this, I recommend extending the fermentation time by an extra 24 hours to compensate.
Storage and Zero Waste Practices
Once your starter is established, you don't have to keep it on the counter forever. In fact, unless you are baking every single day, the refrigerator is its best home. In the cold, the yeast's metabolism slows down to a crawl. You only need to feed it once every 7 to 10 days to keep it alive.
When you are ready to bake, take it out of the fridge, feed it, and let it sit at room temperature for 8 hours until it is bubbly and active again.
If you find yourself with too much starter (the "discard"), don't just pour it down the drain! Sourdough discard is a goldmine for flavor. You can add a half cup of discard to pancake batter, waffle mix, or even pizza dough.
It adds a wonderful depth of flavor and a slight tang that you just can't get from fresh yeast alone. I have even stirred a bit into muffin batter with great results. It’s a fantastic way to ensure nothing goes to waste while "elevating" your everyday baking.
What to Serve with Sourdough
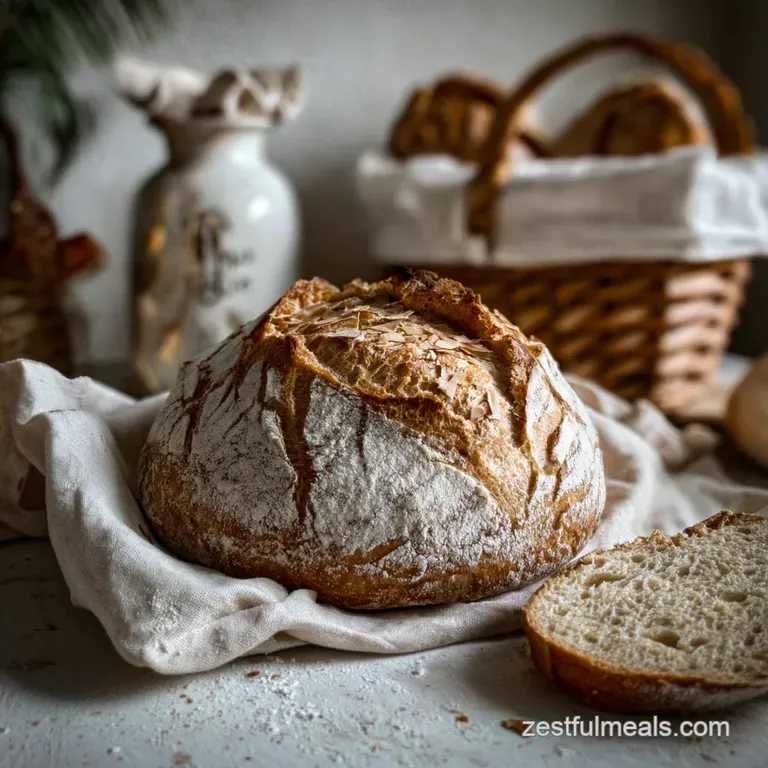
When you finally bake that first loaf using your vibrant culture, you want to serve it with something that lets the flavor shine. Because this starter produces a slightly sweeter, softer bread, it is the perfect companion for savory soups. A thick slice of toasted sourdough dipped into a Mushroom Bisque Soup recipe is a combination that is hard to beat. The earthiness of the mushrooms plays beautifully against the tangy notes of the potato based crust.
Alternatively, if you are looking for a lighter meal, use the bread to make grilled cheese sandwiches. The sugar in the starter helps the bread brown beautifully in the pan, creating a "shatter" crisp crust that yields to a soft, airy center.
It is a simple pleasure, but after five days of waiting for your starter to mature, that first bite of home grown bread is a reward like no other. Trust me, once you go down the sourdough rabbit hole, you'll never want to go back to store-bought loaves again.

Recipe FAQs
Why use potato flakes in sourdough starter?
Potato flakes provide readily available starches. They act as a concentrated, consistent food source for the yeast, accelerating the initial fermentation and creating a more resilient culture compared to traditional flour starters.
Is potato flake sourdough real sourdough?
Yes, it is real sourdough. This method uses commercial yeast as a jumpstart to establish a robust culture of wild yeasts and bacteria, which is the fundamental principle of sourdough baking.
Can I feed my sourdough starter potato flakes?
Yes, potato flakes are a key ingredient for feeding. They provide the necessary carbohydrates that the yeast and bacteria consume to grow and multiply, making them ideal for maintaining your starter.
How to maintain a potato flake sourdough starter?
Feed it regularly with warm water, sugar, and potato flakes. Store it in the refrigerator and take it out to feed and activate at room temperature for 8-12 hours before baking.
Why did my potato flake starter not bubble?
Check your water temperature and ambient warmth. If the water was too cold or too hot, or if your kitchen is below 68°F (20°C), the yeast may be sluggish; try moving it to a warmer spot and ensuring water is around 110°F (43°C).
Can I use flavored potato flakes for my sourdough starter?
No, only use unflavored instant potato flakes. Flavored varieties contain seasonings that can negatively impact the fermentation process and impart undesirable tastes to your starter and bread.
What is the "hooch" on top of my starter?
Hooch is a natural byproduct of fermentation, indicating your starter is hungry. You can either stir it back in for a more sour flavor profile, similar to the acidity balance in a Fried Pickle Dipping recipe, or pour it off if you prefer a milder taste before feeding.
Potato Flake Starter

Ingredients:
Instructions:
Nutrition Facts:
| Calories | 672 kcal |
|---|---|
| Protein | 3.2 g |
| Fat | 0.4 g |
| Carbs | 170 g |
| Fiber | 1.2 g |
| Sugar | 150 g |
| Sodium | 24 mg |
