Classic New York Cheesecake: Velvety and Crack-Free
- Time: Active 30 minutes, Passive 75 minutes, Total 105 minutes
- Flavor/Texture Hook: Velvety, dense, and slightly tangy
- Perfect for: Milestone celebrations and impressive holiday desserts
- The Best Classic New York Cheesecake Recipe
- Reliable Recipe Specs and Timing
- Essential Building Blocks for Flavor
- Necessary Equipment for Smooth Success
- Detailed From Prep to Plate
- Troubleshooting and Success Strategies
- Creative Ways to Customize It
- Smart Storage and Waste Tips
- Beautiful Presentation and Serving Ideas
- Recipe FAQs
- 📝 Recipe Card
The Best Classic New York Cheesecake Recipe
There is a specific aroma that fills the kitchen when graham crackers hit melted butter and sea salt. It’s a nutty, toasted scent that signals the start of something truly special. I remember the first time I tried making a real deal cheesecake.
I was so nervous about the surface cracking that I spent the whole baking time peering through the oven glass, only to end up with a center that was still soup. It took a few tries, but I learned that the secret isn't some fancy gadget.
It’s all about the temperature of your ingredients and having the patience to let the oven do its thing slowly.
When you pull this out of the fridge after a long chill, the first thing you'll notice is the weight. A proper New York slice should feel substantial. It shouldn't be airy or mousse like. It needs to be rich enough that you want to close your eyes with every bite. The star of the show here is the full fat cream cheese.
I’ve tried the low-fat versions in a moment of health conscious weakness, and I promise you, it’s just not worth it. You lose that iconic silky mouthfeel and the structural integrity that makes this dish famous.
This recipe is designed to be approachable for any home cook who is tired of store-bought versions that taste more like sugar than cheese. We’re going to use simple tools and a very reliable method. I’ve broken down the steps so you can avoid the heartbreak of a soggy crust or a lumpy filling.
Let's get into why these specific ingredients work so well together and how you can master this at home without any stress.
Reliable Recipe Specs and Timing
Success in baking often comes down to timing and understanding the environment of your oven. This isn't a "set it and forget it" kind of dish. It requires a gentle transition from the hot oven to the cool fridge to prevent the proteins from tensing up and snapping, which is exactly what causes those dreaded fissures across the top.
We use 30 minutes for prep, 75 minutes for baking, and a total of 105 minutes of "active" and "baking" time, but the real magic happens during the cooling phase.
The Logic of Low Temperature
Thermal Stability: Baking at a lower temperature like 160°C ensures the eggs set slowly, creating a tight, velvety crumb rather than a rubbery texture.
Evaporation Control: The water bath creates a humid environment that prevents the top of the cheesecake from drying out and becoming tough before the center is done.
Gradual Protein Set: Flour acts as a bridge between the fat and the moisture, helping the cake hold its shape even as it relaxes during the cooling process.
| Method | Total Time | Texture | Best For |
|---|---|---|---|
| Traditional Water Bath | 1 hour 45 mins | Dense, velvety, and rich | Professional finish and parties |
| Fast No Water Bath | 1 hour | Slightly grainy, puffy edges | Quick family dinners |
| No Bake Method | 30 mins | Mousse like and light | Summer heat and beginners |
If you find yourself short on time or wanting a different texture, you might want to look at a Cheese Cheesecake - No Bake recipe which skips the oven entirely and relies on the fridge to set. It’s a great alternative when you don't want to deal with a water bath, though it won't have that signature New York density we’re aiming for today.
Essential Building Blocks for Flavor
When we talk about a classic cheesecake, we are really talking about a dairy emulsion. Each component has a specific job to do. The cream cheese provides the body, the sour cream brings the tang, and the eggs provide the structure. If one of these is off, the whole thing can feel unbalanced.
| Ingredient | Science Role | Pro Secret |
|---|---|---|
| Full fat Cream Cheese | Structural base and fat content | Must be soft enough to smear easily before mixing |
| Large Eggs | Protein binder for setting | Add them last to prevent over incorporating air |
| All purpose Flour | Moisture stabilizer | Sift it to prevent tiny white flour pockets in the batter |
| Sour Cream | Acidic tenderizer | Adds a subtle tang that cuts through the heavy fat |
Mixing these ingredients while they are cold is the number one reason for lumpy batter. I’ve made this mistake more times than I care to admit. You think the mixer will work it out, but those cold bits of cheese stay stubborn. Take your dairy out of the fridge at least two hours before you start.
If you’re in a rush, you can submerge the sealed packages of cream cheese in warm water for 15 minutes to take the chill off.
Necessary Equipment for Smooth Success
You don't need a professional pastry kitchen to make this, but a few specific items make the process much more reliable. The most important is a 9 inch springform pan. Because cheesecake is so delicate, you can't flip it over to get it out of a regular cake tin.
The removable sides of a springform are non negotiable here.
- 9 inch Springform Pan: This allows for clean removal without damaging the crust.
- Heavy duty Aluminum Foil: Essential for waterproofing the pan during the water bath.
- Stand Mixer or Hand Mixer: Using a paddle attachment is better than a whisk as it incorporates less air.
- Large Roasting Pan: This needs to be big enough to hold the springform pan with space for water around it.
- Spatula: A flexible silicone spatula is your best friend for scraping the bottom of the bowl.
If you are worried about the water bath leaking, some people use a silicone cake pan protector that fits over the bottom of the springform. Personally, I find that three layers of high-quality, heavy duty foil work perfectly as long as you are careful not to poke any holes in it while you're wrapping.
Detailed From Prep to Plate
Now we get to the actual making of the cake. Follow these steps closely, especially the cooling instructions. The way a cheesecake cools is just as important as the way it bakes.
Phase One: The Crust
- Preheat your oven to 175°C. Prepare a 9 inch springform pan by ensuring the base is locked in securely.
- In a medium bowl, combine 150g graham cracker crumbs, 50g sugar, 0.25 tsp sea salt, and 85g melted butter. Stir until it looks like wet sand.
- Press the mixture firmly into the bottom and 1 inch up the sides of the pan. Note: A flat bottomed measuring cup helps get an even, compressed layer.
- Bake for 10 minutes until mahogany colored and fragrant. Let this cool completely on a wire rack.
Phase Two: Smooth Emulsion
- Lower the oven temperature to 160°C. Wrap the outside of the cooled pan in three layers of heavy duty aluminum foil.
- In your mixer, beat 900g room temperature cream cheese and 200g sugar on medium low speed until completely smooth and lump free.
- Add 240g sour cream, 15g vanilla, 10g lemon juice, and 25g sifted flour. Mix on low until just combined.
Phase Three: Gentle Bake
- Add 4 large eggs and 1 egg yolk one at a time. Mix on the lowest speed after each addition just until incorporated. Note: Over mixing here creates bubbles that will pop and cause cracks.
- Pour the batter into the crust. Place it in a roasting pan and fill the roasting pan with boiling water halfway up the sides of the cheesecake pan.
- Bake for 75 minutes until the edges are set but the center still wobbles like Jell O.
Phase Four: The Chill
- Turn off the oven and crack the door slightly. Let the cheesecake sit inside for 1 hour. Note: This prevents the sudden temperature drop that causes shrinking.
- Remove from the oven, take off the foil, and refrigerate for at least 10 hours. Wait until it is fully cold before attempting to remove the springform sides.
Troubleshooting and Success Strategies
Even with the best intentions, baking can be fickle. The most common issue people face is the surface cracking. This usually happens because the cake was over baked or cooled too quickly. If the edges are puffed up and browned but the center is cracked, your oven might be running hot.
I always recommend using an oven thermometer to be sure.
Lumpy Filling Solutions
If you notice lumps in your batter after adding the sugar, don't keep adding ingredients. Stop and try to press the lumps against the side of the bowl with a spatula. If it's really bad, you can pass the batter through a fine mesh sieve. It’s a bit of extra work, but it saves the texture of the final cake.
Next time, ensure the cream cheese is truly at room temperature.
Soggy Crust Fixes
A soggy crust is almost always a result of water leaking through the foil. If you find your crust is wet after baking, you can try to save it by placing the chilled cheesecake (out of the pan) on a paper towel lined plate to wick away moisture.
To prevent this, ensure your foil layers are high enough and have no seams on the bottom.
| Problem | Root Cause | Solution |
|---|---|---|
| Surface Cracks | Over baking or fast cooling | Use a water bath and cool in the oven with the door cracked |
| Lumpy Batter | Cold cream cheese | Ensure all dairy is at room temp for 2 hours |
| Leaking Water | Holes in aluminum foil | Use heavy duty foil and wrap in three separate layers |
Common Mistakes Checklist
- ✓ Never use a whisk attachment; the paddle keeps air out of the batter.
- ✓ Don't skip the flour; it provides the structural insurance needed for a thick slice.
- ✓ Always use full fat brick cream cheese, not the spreadable kind from a tub.
- ✓ Avoid opening the oven door during the first 60 minutes of baking.
- ✓ Ensure the water for the bath is boiling when you pour it in.
Creative Ways to Customize It
Once you have mastered the basic cheesecake recipe, you can start playing with flavors. The base is quite neutral, which makes it a fantastic canvas for additions. You can swap the graham crackers for chocolate sandwich cookies or even crushed ginger snaps for a spicy kick.
| Original Ingredient | Substitute | Why It Works |
|---|---|---|
| Graham Crackers | Digestive Biscuits | Provides a less sweet, more buttery base. Note: Very common in UK versions. |
| Sour Cream | Greek Yogurt | Adds more tang and slightly more protein. Note: Result is a bit firmer. |
| Vanilla Extract | Almond Extract | Changes the profile to a cherry like nuttiness. Note: Use only half the amount. |
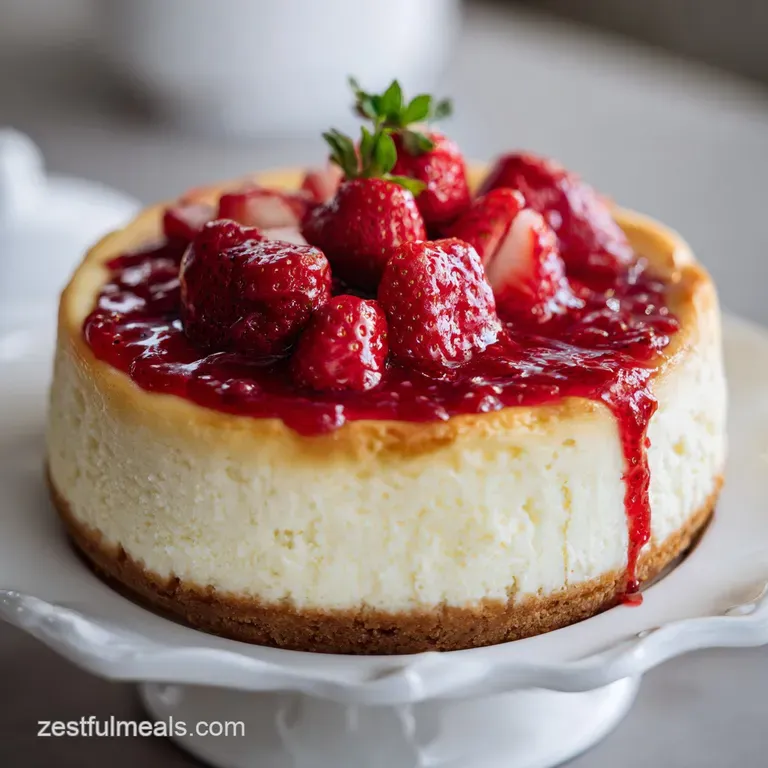
One of my favorite ways to change this up is by adding a fruit swirl. You can take a little bit of strawberry jam, warm it up, and dollop it onto the batter before baking. Use a toothpick to swirl it around for a beautiful marbled effect.
Just be careful not to add too much moisture, or the center might take longer to set.
Smart Storage and Waste Tips
Cheesecake is one of those rare desserts that actually tastes better the second day. The flavors have time to meld, and the texture becomes more cohesive. You can store this in the fridge, tightly wrapped or in an airtight container, for up to 5 days.
If you find you have leftovers that you won't eat in time, this recipe freezes beautifully.
To freeze, I suggest slicing the cake first. Wrap each individual slice in plastic wrap, then a layer of foil, and place them in a freezer bag. They will stay fresh for up to 3 months. When you're ready for a treat, just move a slice to the fridge the night before.
If you’re in a hurry, you can actually eat it semi frozen, which tastes a bit like a high end ice cream bar.
For zero waste, don't throw away those extra egg whites if you find yourself with more than you need from other recipes. While this recipe uses whole eggs plus one yolk, you can save the whites for a meringue or an egg white omelet the next morning.
If your graham cracker crust crumbles a bit when you're serving, save those crumbs! They are incredible sprinkled over vanilla yogurt or used as a topping for a quick fruit crumble.
Beautiful Presentation and Serving Ideas
To get those perfectly clean, professional looking slices, there is one trick: heat. Run a long, thin knife under hot water, wipe it dry, and make one clean cut. Repeat the process dipping and wiping for every single slice.
It sounds tedious, but it prevents the cheese from sticking to the blade and tearing the delicate top.
Citrus Twist Variations
If you want to lean into the brightness of the lemon juice, you can top the finished cake with a thin layer of lemon curd. It adds a vibrant yellow color and a sharp contrast to the creamy filling. You can also zest a fresh lemon directly over the cake right before serving for a hit of citrus aroma.
Dense New York Style
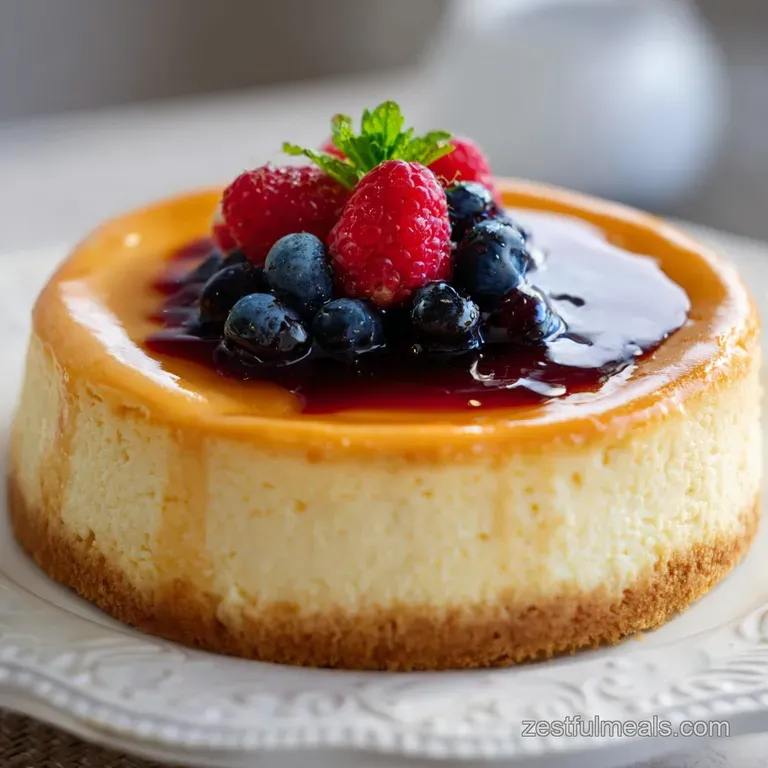
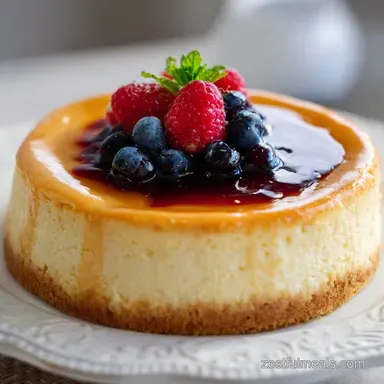
For that truly authentic look, serve the slices plain or with a very simple berry compote. A New York cheesecake is meant to stand on its own. If you’ve followed the water bath and cooling steps, the side of the cake should be a pale, creamy off white, contrasting beautifully with the dark, golden brown crust.
Rich Chocolate Base
If you are a chocolate lover, try using a chocolate cookie crust and topping the chilled cake with a simple ganache. To make a quick ganache, just pour hot heavy cream over equal parts chocolate chips and let it sit for five minutes before stirring.
Pour it over the cold cheesecake and let it set in the fridge for another hour. It’s a total showstopper for birthdays.

Recipe FAQs
What is the secret to New York cheesecake?
Temperature control is the absolute key to success. Ensuring your cream cheese, sour cream, and eggs are at room temperature prevents lumps, while the slow cooling process in a propped open oven prevents the surface from cracking.
What is the difference between classic and New York style cheesecake?
Density defines the New York style. While classic recipes often use heavy cream or lighter dairy bases, a true New York style relies on a high ratio of full fat cream cheese and sour cream to achieve that signature dense, velvety texture.
What was Frank Sinatra's favorite cheesecake?
Frank Sinatra famously favored the dense, creamy New York style. He was a known regular at iconic New York delis that specialized in this specific, high fat, rich version.
Is cheesecake good for heart patients?
No, it is not considered heart healthy. With 512 calories per serving and significant fat content from the full fat cream cheese and butter, this dessert should be enjoyed in moderation as an occasional treat.
How to prevent the cheesecake surface from cracking?
Use a water bath to maintain consistent, gentle heat. If you enjoyed mastering this custard based technique for texture, you will find that the same principle of slow, even heat is what keeps the cheesecake smooth and crack free.
How to tell if the cheesecake is fully baked?
Check for a slight jiggle in the very center. The edges should be set and slightly puffed, but the middle two inches should still wobble like gelatin when the pan is gently nudged.
How to get a clean slice every time?
Run a sharp knife under hot water and wipe it clean between every slice. This prevents the cream cheese from sticking to the blade and dragging, ensuring perfectly smooth edges on every piece.
Classic New York Cheesecake
Ingredients:
Instructions:
Nutrition Facts:
| Calories | 512 kcal |
|---|---|
| Protein | 8.3 g |
| Fat | 38.1 g |
| Carbs | 35.4 g |
| Fiber | 0.4 g |
| Sugar | 23.3 g |
| Sodium | 342 mg |
