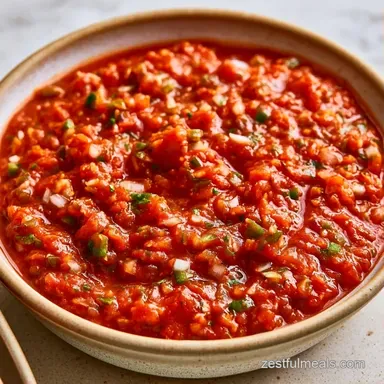
Safe Water Bath Canned Salsa
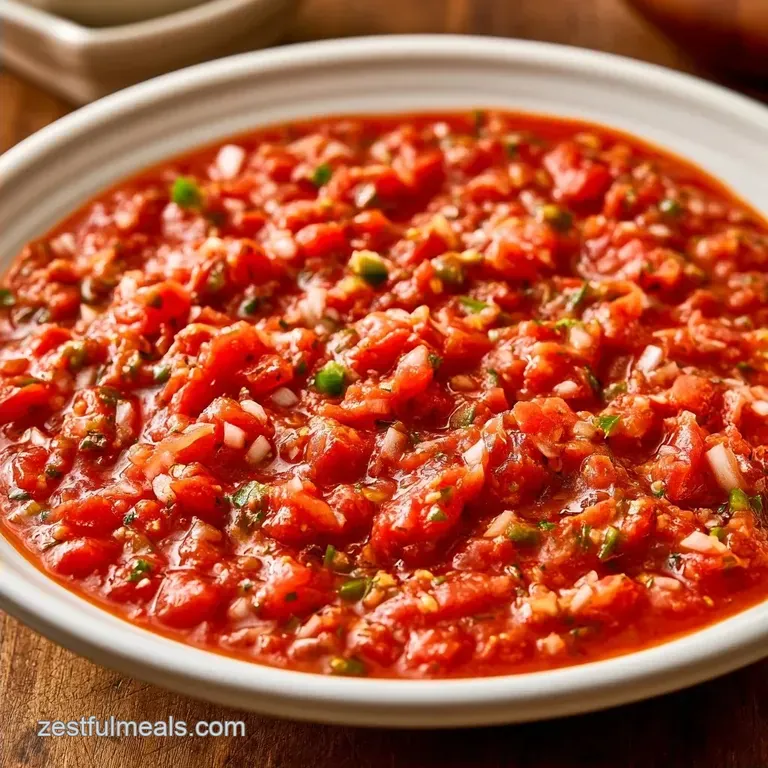
- Time: 30 min active + 40 min cook
- Flavor/Texture Hook: Tangy and chunky with roasted depth
- Perfect for: Budget-friendly meal prep and family taco nights
Canned Salsa for Busy Families
That smell of charred tomato skins and sizzling garlic is the best part of the whole process. I used to think I had to spend an entire Saturday blanching tomatoes in boiling water and peeling them by hand. It felt like a chore, and honestly, my kids would be starving long before the first jar was even filled.
But here is the truth: you don't need to spend hours on tedious prep. Roasting the tomatoes under a hot broiler does the work for you, and it adds a depth of flavor that raw tomatoes just can't match. This approach turns Canned Salsa from a daunting project into something we can actually do together.
You can expect a bold, zesty result that tastes like it came from a professional kitchen but fits a family budget. We'll use a few simple tools and a reliable water bath method to make sure every jar is safe and tasty for months.
What Makes This Jar Safe
The logic here is simple: acidity stops bacteria. Since we're making Canned Salsa, we have to keep the pH level low enough to prevent spoilage.
- Acid Balance: Vinegar and lemon juice lower the pH. This prevents dangerous bacteria from growing in the low acid vegetables.
- Heat Penetration: The water bath process kills microorganisms and forces air out of the jar. This creates the vacuum seal that keeps the food shelf stable.
Gear You Actually Need
Professional equipment isn't necessary to achieve excellent results; you likely already own most of these basics. For those new to making Canned Salsa, the only specialized tool required is a large stockpot that can accommodate your jars.
- Large baking sheet (for roasting)
- Food processor (or a sturdy blender)
- Large heavy bottomed pot
- Water bath canner or a deep pot with a rack
- Sterilized pint jars with lids and bands
- Measuring cups and spoons
Breaking Down the Ingredients
Each ingredient serves a specific purpose. Roma tomatoes act as the base because their low water content prevents the canned salsa from becoming too watery.
| Component | Purpose | Substitute Notes |
|---|---|---|
| Roma Tomatoes | Thick base | Paste tomatoes are also effective |
| Distilled Vinegar | Preservation/Tang | Apple cider vinegar provides a milder taste |
| Bottled Lemon Juice | pH Stability | Fresh lemon is okay, but bottled is more consistent |
| Jalapeños | Heat/Zest | Serrano peppers for more kick |
The Full Ingredient List
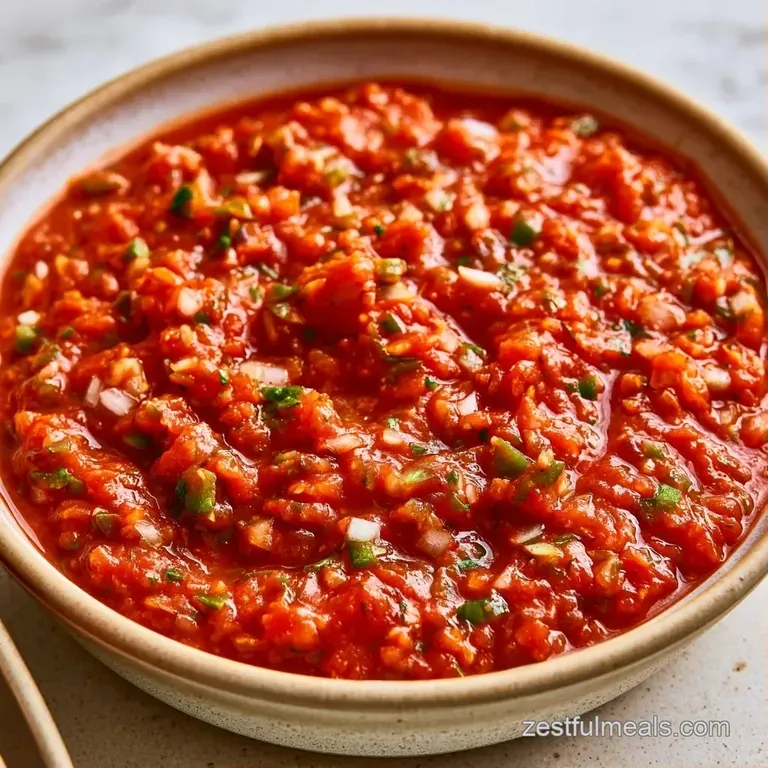
Gather your ingredients before you begin. For the safety of your Canned Salsa, bottled lemon juice is preferred over fresh, as its acidity is consistent.
- 5 lbs Roma tomatoes, halved Why this? Less water results in a thicker consistency
- 2 cups white onion, coarsely chopped Why this? Delivers a crisp, sharp flavor
- 1/2 cup bell pepper, diced Why this? Adds a touch of mild sweetness
- 4 cloves garlic, minced Why this? Strong aromatic foundation
- 3 medium jalapeños, seeded and minced Why this? Controlled level of heat
- 1 tsp salt Why this? Accentuates the overall taste profile
- 1 tsp black pepper Why this? Subtle, woody spice
- 1 tsp cumin Why this? Traditional earthy flavor
- 1/2 cup white distilled vinegar Why this? Crucial for safe shelf stability
- 1/4 cup bottled lemon juice Why this? Guarantees a stable pH level
Now, let's consider some alternatives. Other firm tomatoes can replace Romas, though you may need to simmer the sauce for a longer period.
| Original Ingredient | Substitute | Why It Works |
|---|---|---|
| Roma Tomatoes | Paste Tomatoes | Comparable moisture levels. Note: Maintains a chunky texture |
| White Onion | Red Onion | Similar taste profile. Note: Gives the salsa a purple tint |
| White Vinegar | Apple Cider Vinegar | Retains acidity. Note: Introduces a slight fruitiness |
Steps to Fill Your Pantry
Let's crack on with the cooking. The goal here is a chunky texture, not a smooth puree.
- Preheat your oven to 450°F (230°C). Place the halved tomatoes on a sheet pan and roast for 10-15 minutes until the skins blister and pull away.
- Throw the roasted tomatoes, onions, bell peppers, and jalapeños into a food processor. Pulse 3-5 times until chunky. Note: Stop early so it doesn't become a smoothie.
- Pour the vegetable mixture into a large pot. Stir in the minced garlic, salt, pepper, and cumin.
- Mix in the white distilled vinegar and bottled lemon juice.
- Bring the mixture to a boil, then drop the heat to a simmer. Cook for 10-15 minutes until the sauce thickens and smells fragrant.
- Ladle the hot Canned Salsa into sterilized pint jars. Leave about half an inch of headspace at the top.
- Wipe the jar rims clean with a damp cloth. Put the lids on and screw the bands until they are fingertip tight.
- Process the jars in a water bath canner. Ensure the water covers the lids by at least an inch.
- Remove the jars and let them sit undisturbed for 24 hours until you hear the lids pop.
Fixing Common Jar Issues
Even the most experienced cooks hit a snag now and then. When making Canned Salsa, the most stressful part is usually the sealing process.
Preventing Seal Failure
If the lid doesn't "pop" or it bounces back when you press the center, the seal failed. This usually happens because a bit of food got stuck on the rim or there wasn't enough headspace. If this happens, don't panic. Just put that jar in the fridge and eat it within 10 days.
Correcting Watery Salsa
Sometimes the tomatoes are juicier than expected, and your Canned Salsa looks too thin. To fix this, simmer the mixture for an extra 5-10 minutes before jarring. This evaporates the excess water and concentrates the flavor.
Managing Excessive Heat
If you accidentally added too many jalapeños, don't toss the batch. You can balance the heat by adding a tiny bit more salt or a pinch of sugar during the simmering stage. This doesn't remove the spice, but it rounds out the flavor so the heat isn't so aggressive.
Storage and Scrap Tips
Keep your Canned Salsa in a cool, dark location, such as a pantry or cellar. They will remain shelf stable for about a year, although the flavor is best within 6-8 months. Once a jar is opened, store it in the refrigerator and use it within 2 weeks.
Instead of discarding the onion skins or tomato tops, save them for later. I store mine in a freezer bag to brew a quick vegetable stock. Similarly, you can put leftover jalapeño stems in your compost or use them to infuse vinegar for a zesty pickled treat.
Need more safety tips? The National Center for Home Food Preservation is the top resource for safe canning guidelines.
Tweaking Your Batch
You can easily change the profile of your Canned Salsa to suit your family's taste. If you want something with a different vibe, maybe try my Smoky Tomato Sauce for your next pasta night.
Decision Shortcuts:
- More heat? → add 1 extra jalapeño
- Thicker texture? → simmer 5 mins longer
- Extra tang? → add 1 tbsp extra vinegar
When scaling this recipe up for a big harvest, be careful with the spices. If you double the batch, only increase the salt and cumin by 1.5x. Too much salt can interfere with the canning process and the final taste.
| Batch Size | Tomato Amount | Processing Note |
|---|---|---|
| Single (5 pints) | 5 lbs | Standard 10-15m simmer |
| Double (10 pints) | 10 lbs | Use a wider pot to avoid boiling over |
| Half (2-3 pints) | 2.5 lbs | Reduce simmer time by 5 mins |
Best Ways to Serve It
Canned salsa is a remarkably adaptable kitchen staple. While it's obviously a favorite for tortilla chips, it also makes a fantastic foundation for other dishes. Try drizzling it over grilled fish or utilizing it as a simmering sauce for shredded chicken.
It also complements hearty proteins beautifully. I frequently serve a portion of this salsa with Pan Seared Garlic Chicken Thighs to add a zesty brightness to the rich meat.
And that's all there is to it. Once you have a few jars of canned salsa in your pantry, hectic weeknights become much easier. Simply open a jar, put out some chips, and you've got a snack that everyone loves. Enjoy!
Recipe FAQs
How long do you leave salsa in a water bath?
Process for the duration specified by your local altitude guidelines.
Tip: Keep jars submerged by at least one inch of water.
What are common mistakes when canning?
Over processing the vegetables into a smooth puree is a frequent error.
Tip: Pulse the food processor briefly to keep the texture chunky.
Is it true that you can skip cooking salsa before canning?
Actually, no. Boiling the mixture ensures the acid is evenly distributed and the food is heated before sealing.
Tip: Simmer for 10-15 minutes to create a cohesive consistency.
Will the sealed jars last in the pantry?
Stored in a cool, dark place, they stay good for about a year.
Tip: Consume within 6-8 months for the best flavor.
Does this recipe lack the acidity needed for safe canning?
Surprisingly, no. The combination of bottled lemon juice and distilled vinegar provides the required acidity for safety.
Tip: If you loved the flavor balance here, see how we balance acidity in our creamy sauce.
Can I add extra peppers?
Stick to the listed amounts to maintain the safe acid-to-vegetable ratio.
Tip: Use the specified jalapeños to ensure the pH remains low enough for canning.
Would lemon juice work instead of vinegar?
Use both bottled lemon juice and distilled vinegar as listed to guarantee preservation.
Tip: Bottled juice is preferred over fresh for consistent acidity.
How many jars does this make?
This recipe yields 5 pint sized jars.
Tip: Have extra sterilized jars ready to accommodate slight variations in vegetable volume.
Roasted Canned Salsa