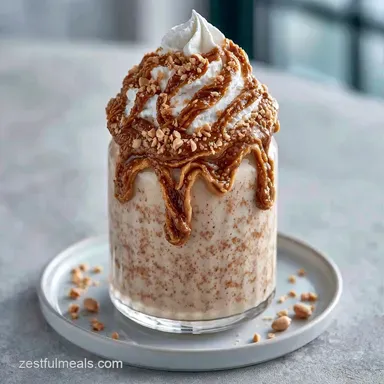
Peanut Butter Milkshake in 5 Minutes
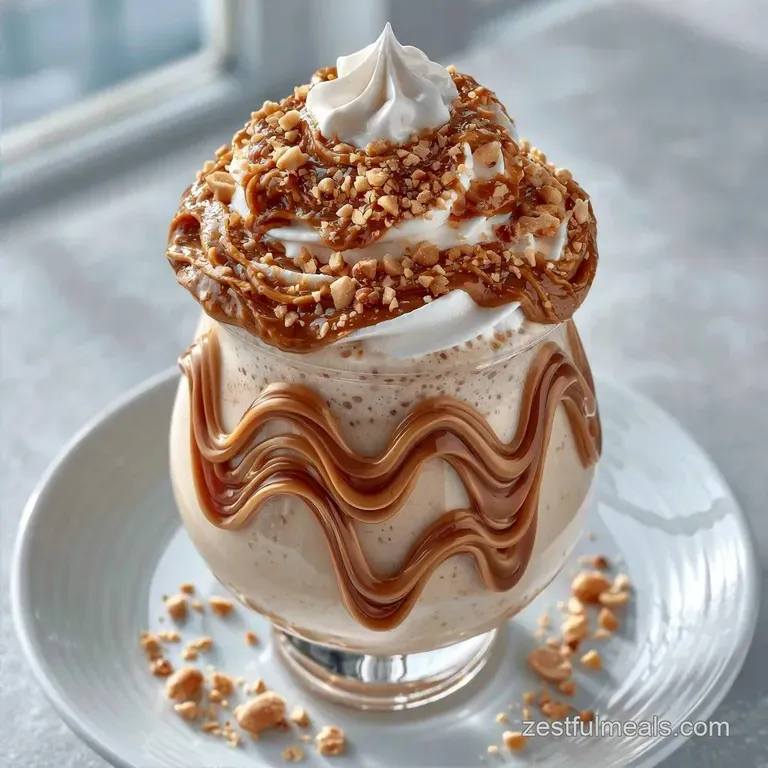
- Time: 5 min active + 0 min cooking
- Flavor/Texture Hook: Glossy, dense, and nutty
- Perfect for: An indulgent weekend treat or a high calorie snack
The sudden roar of the blender usually marks the start of a sugar crash, but today it's different. I used to think you needed those giant, commercial spindle mixers found in 1950s diners to get a shake that actually stays upright in the glass.
I spent way too long adding more and more ice cream until the blender nearly gave up, just to avoid that sad, soupy consistency.
Forget the idea that a thick texture requires professional gear. You can get that same heavy, spoonable consistency with a basic blender and a few simple temperature tweaks.
This Peanut Butter Milkshake hits that spot between a drink and a dessert. It's rich, salty, and dense enough that you'll actually want a spoon. Trust me, once you stop treating it like a smoothie and start treating it like frozen custard, everything changes.
The One Thing That Changes Everything
Liquid First: Pouring the milk in before the ice cream creates a vortex that pulls the heavier ingredients down. This prevents air pockets from forming and keeps the texture dense.
Thermal Control: Chilling the glasses for 5 minutes stops the shake from melting the second it hits the glass. This preserves the thickness during the first few sips.
| Method | Time | Texture | Best For |
|---|---|---|---|
| Blender | 5 mins | Glossy/Smooth | Quick cravings |
| Hand Mixed | 10 mins | Chunky/Rustic | Minimal tool days |
| Ninja Creami | 12 hours | Frozen/Dense | Meal prepping |
Gear You'll Actually Need
No specialized equipment is required for this recipe. A basic blender is perfectly fine, though a high-powered version like a Vitamix will process the frozen ice cream more efficiently.
Keep a rubber spatula handy to scrape down the sides. If you lack one, a sturdy spoon works, although it won't be as thorough. Crucially, choose heavy glasses that can safely be placed in the freezer.
Shopping List Breakdown
| Ingredient | What It Does | Best Swap |
|---|---|---|
| Vanilla Ice Cream | Provides the frozen base | Frozen bananas (adds a healthier, denser vibe) |
| Whole Milk | Thins the mix to pourable | Almond milk (lighter, slightly nuttier) |
| Creamy Peanut Butter | Adds the core flavor and fat | Almond butter (milder taste) |
| Sea Salt | Cuts the sugar | Table salt (less mineral depth) |
- 3 cups (450g) vanilla bean ice cream Why this? High fat content creates a silky mouthfeel
- 1/2 cup (120ml) whole milk Why this? Emulsifies the peanut butter better than water
- 1/2 cup (125g) creamy peanut butter Why this? Ensures no lumps in the final blend
- 1 tsp (5ml) pure vanilla extract Why this? Boosts the floral notes of the ice cream
- 1 pinch (1g) sea salt Why this? Balances the richness of the fats
The Recipe Specs
This makes two generous servings. Since there is no cooking involved, the total time is just about 10 minutes from the moment you pull the ice cream out of the freezer to the first sip.
If you are using a USDA style nutrition guide, you'll see that the fats here come primarily from the peanut butter and dairy, which helps the flavor linger longer on the palate.
Step-by-step Blending
- Measure all ingredients. Microwave the peanut butter for 10 seconds until it softens slightly to make it blend faster.
- Place two glasses in the freezer for 5 minutes.
- Pour the whole milk and vanilla extract into the blender.
- Add the creamy peanut butter and sea salt to the milk.
- Scoop the vanilla ice cream on top of the other ingredients.
- Blend on medium high for 30–45 seconds until the mixture looks glossy and uniform.
- Use a rubber spatula to scrape any ice cream stuck to the sides.
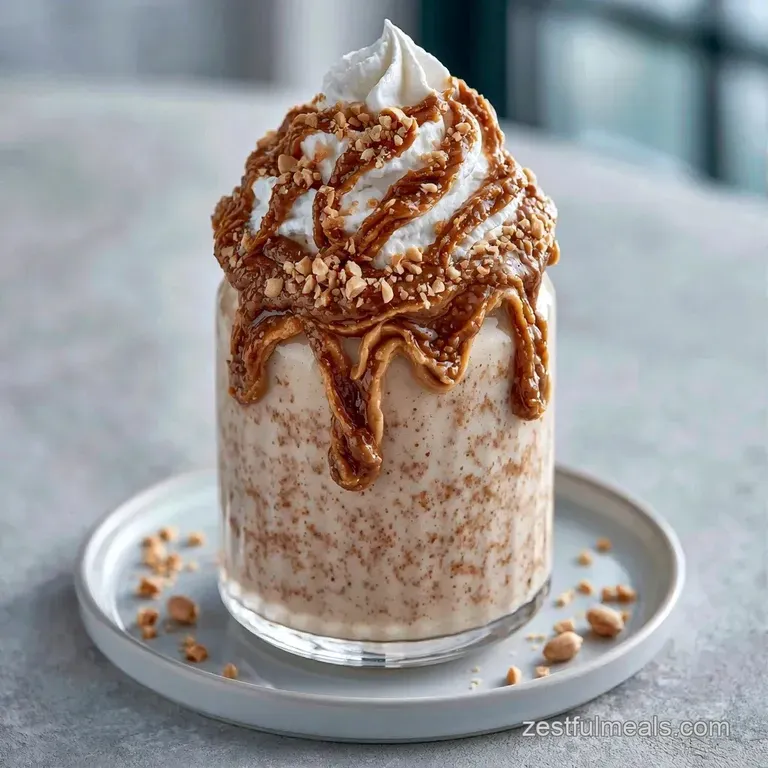
- Pour the Peanut Butter Milkshake slowly into the chilled glasses.
Fixing Shake Problems
If the shake is too thin, it's usually because the ice cream was too soft when it went into the blender. Adding a few ice cubes can help, but frozen fruit is better to avoid watering down the flavor.
When the blender blades spin but the ingredients don't move, you've hit a "frozen pocket." Stop the motor immediately. Stir the mixture by hand to break up the ice cream clumps before restarting.
Fixing Thin Shakes
Add more frozen base. Use 1/2 cup of ice cream or frozen banana slices.
Stuck Blender Blades
Stop the blender. Stir manually with a spatula to break the ice cream blockage.
| Problem | Fix |
|---|---|
| Too runny | Add 1/2 cup frozen ice cream |
| Too thick | Add 1 tbsp milk at a time |
| Lumpy texture | Blend for another 15 seconds |
| Goal | What to change |
|---|---|
| More Saltiness | Double the sea salt pinch |
| Thicker Consistency | Reduce milk by 2 tbsp |
| Lighter Taste | Use 1% milk or almond milk |
Storing Your Shake
Milkshakes aren't ideal for the fridge. Instead, store any remaining portions in a sealed container in the freezer for up to 2 months. To enjoy them later, let them thaw in the refrigerator for an hour or blend them again with a splash of milk.
Don't toss the oil that separates in your peanut butter jar. Stir it back in and use it for homemade protein bars to avoid waste.
Fun Flavor Swaps
For a twist, try adding a frozen banana to make a Creamy Peanut Butter Banana Smoothie. It changes the vibe from a dessert to something you can actually drink for breakfast. If you want something even more decadent, stir in a spoonful of cocoa powder or serve it alongside some fudgy homemade brownies.
If you have a Ninja Creami, you can blend these ingredients into a base, freeze it overnight, and then spin it on the "Milkshake" setting for a texture that is almost like soft serve.
Serving Your Treat
Transfer the Peanut Butter Milkshake into your chilled glasses. To add a bit of texture, garnish with chopped roasted peanuts or a drizzle of melted chocolate.
Because this drink is so indulgent, it’s perfect when served with something fresh, such as sliced strawberries. The acidity of the berries balances the rich fats of the peanut butter, refreshing your palate as you enjoy your shake.
Recipe FAQs
How to make the best peanut butter milkshake?
Layer ingredients by density. Pour milk and vanilla extract first to create a vortex, then add peanut butter, salt, and ice cream to ensure a uniform blend.
What is the trick for smooth peanut butter?
Microwave the peanut butter for 10 seconds. Softening the fats makes it much easier to incorporate into the cold liquid base without leaving clumps.
How can I achieve a creamier texture?
Blend on medium-high for 30–45 seconds. Process the mixture until it looks glossy and completely uniform for the smoothest mouthfeel.
Is this shake low carb?
No, it is too high in sugar. The vanilla ice cream and whole milk contain significant carbohydrates that do not fit a low carb profile.
Which side pairs best with this?
Pair it with toasted bread. This sweet treat goes great with a warm English muffin for a decadent brunch.
Is it true that leftovers stay fresh in the fridge?
That's a myth. Milkshakes separate and lose their texture when refrigerated; freeze them in a sealed container instead.
Peanut Butter Milkshake in 5 Minutes