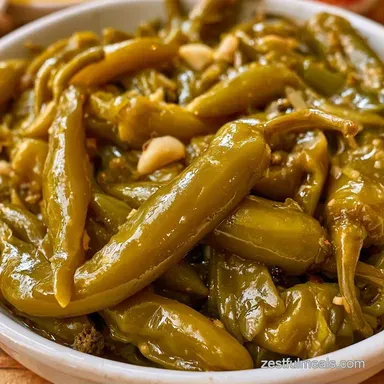
Whole Pickled Serrano Peppers: Crisp and Zesty
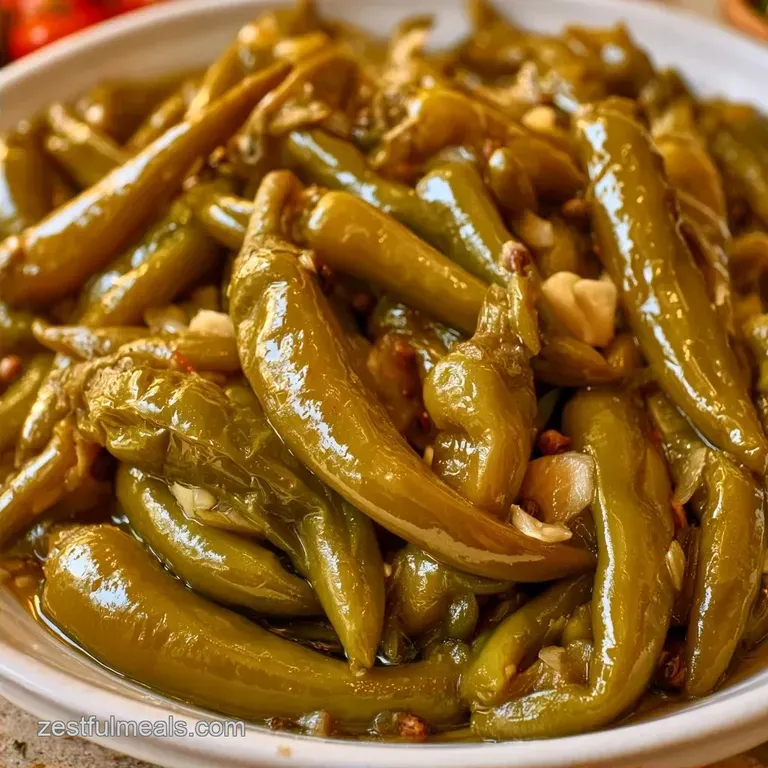
- Time: 20 min active + 24 hours curing
- Flavor/Texture Hook: Sharp, zesty heat with a crisp snap
- Perfect for: Taco nights, sandwich toppings, or budget-friendly meal prep
The sharp, vinegary scent of a fresh jar of pickles always hits me first. But for a long time, I hated store-bought pickled peppers. They usually arrive limp and soggy, floating in a syrup that tastes more like chemicals than actual vinegar. It ruins a good taco when the topping has the texture of a wet paper towel.
I wanted something that actually fought back when you bit into it. That is where this recipe comes in. We are skipping the industrial processing and using a quick boil method that locks in the heat and the crunch.
You can expect a bright, punchy condiment that cuts right through rich fats like avocado or carnitas. These Pickled Serrano Peppers stay firm and vibrant, giving you that satisfying pop in every bite.
How the Crunch Stays
- Salt Ratios: The pickling salt draws out excess moisture from the pepper walls, which prevents them from turning mushy during the curing process.
- Toothpick Holes: Pricking the skins lets the brine enter the hollow center. This ensures the inside pickles at the same rate as the outside.
| Method | Time | Texture | Best For |
|---|---|---|---|
| Quick Pickle | 25 hours | Very Crisp | Fridge storage, fresh taste |
| Water Bath | 1 hour | Softer | Long term pantry storage |
Quick Recipe Specs
This version is designed for the home kitchen where we don't have a ton of time but want real results. We use basic pantry staples and a few pint jars. The process is straightforward, focusing on heat and acidity to do the heavy lifting.
What Each Ingredient Does
| Ingredient | Role | If You Don't Have It |
|---|---|---|
| White Vinegar | Acid for preservation | Apple cider vinegar (adds sweetness) |
| Pickling Salt | Texture and flavor | Kosher salt (avoid table salt with iodine) |
| Serrano Peppers | The heat source | Jalapeños (milder flavor) |
| Garlic | Aromatic depth | Garlic powder (less punchy) |
The Building Blocks
- 1 lb (450g) whole Serrano peppers, stems trimmed Why this? Consistent heat and firm skin.
- 4 cloves (12g) garlic, smashed Why this? Smashed cloves release more oils than sliced.
- 1 tsp (2g) whole black peppercorns Why this? Adds a subtle woody spice.
- 1 cup (240ml) white distilled vinegar (5% acidity) Why this? Clean, sharp acidity.
- 1 cup (240ml) filtered water Why this? Prevents mineral off flavors.
- 1 tbsp (15g) pickling salt (non iodized) Why this? Keeps the brine clear.
- 1 tsp (5g) granulated sugar Why this? Balances the sharp vinegar.
For the vinegar, you can use apple cider vinegar if you want a fruitier note. Just know it changes the color to a slightly more golden hue. If you're out of pickling salt, kosher salt works, but avoid iodized table salt because it can make the liquid cloudy.
Essential Kitchen Tools
No elaborate equipment is necessary here. All you really need are four pint sized glass jars and a medium saucepan for the brine. A simple toothpick serves as the only "specialty" item to puncture the peppers.
I recommend using a slotted spoon if you have one on hand. This makes it easier to submerge the peppers without risking any boiling brine splashes on your hands.
Key Steps for Success
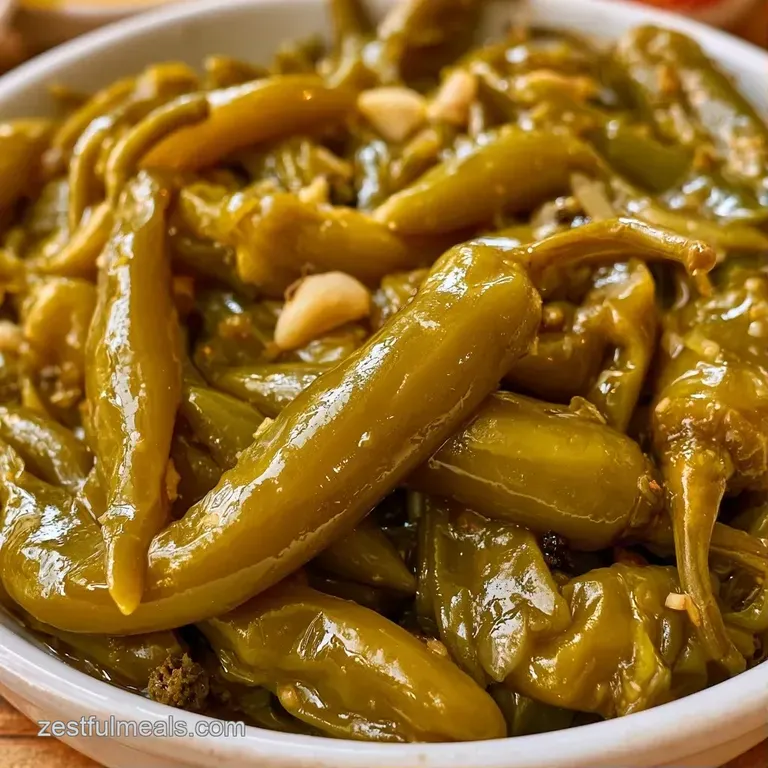
Pepper Preparation
- Rinse the Serrano peppers thoroughly. Wipe them dry with a towel until no water drops remain to avoid diluting your brine.
- Use a toothpick to prick one or two small holes in each pepper. Note: This lets the brine infuse the interior.
- Divide the smashed garlic and peppercorns among the 4 jars.
- Pack the peppers tightly into the jars, leaving ½ inch of headspace at the top.
Crafting the Brine
- Combine vinegar, water, salt, and sugar in a saucepan.
- Heat over medium high until the mixture reaches a rolling boil and the sugar is completely dissolved.
- Pour the boiling liquid over the peppers, making sure they are totally submerged.
- Wipe the jar rims clean and screw on the lids firmly.
Finishing and Curing
- Let the jars sit on the counter until they are no longer hot to the touch, which takes about 1 hour.
- Move the jars to the fridge and let these Pickled Serrano Peppers cure for at least 24 hours.
Fix Common Problems
Sometimes the brine doesn't behave, or the peppers don't sit right. Most of these issues come down to how the jars were packed or the temperature of the liquid. If your peppers are floating, it's usually just trapped air. Gently pressing them down with a spoon during the pour usually fixes this.
If the taste is too sharp, you might have used a vinegar with higher than 5% acidity. You can fix this by adding a pinch more sugar to the jar, though it's better to get the ratio right during the boil.
Fixing Floating Peppers
When peppers aren't packed tight, they drift to the top. Any pepper exposed to air can soften or develop mold over time. Use a glass weight or a folded piece of parchment paper to keep them submerged.
Managing Mushy Texture
This happens if the brine is too weak or the peppers were overcooked by the boiling liquid. Ensure you use non iodized salt and don't let the peppers sit in the hot brine on the counter for too long.
Adjusting Sharp Acidity
If the vinegar bite is too aggressive, it's often because the sugar didn't dissolve fully. Always ensure the brine is crystal clear before pouring.
| Problem | Root Cause | Solution |
|---|---|---|
| Floating Peppers | Trapped air/loose packing | Press down with slotted spoon |
| Mushy Texture | Low salt or high heat | Use pickling salt; cool jars quickly |
| Cloudy Brine | Iodized salt used | Switch to non iodized pickling salt |
Dietary Adaptations
For those who want a different heat profile, you can swap the serranos for habaneros. Just be careful, as habaneros are significantly hotter. If you want something more complex, try a Thai Pickled Serrano Peppers style by adding a slice of ginger and a splash of fish sauce to the brine.
If you are looking for a lower sodium version, you can reduce the salt to 2 tsp. However, be aware that the peppers may lose some of that "snap" and will need to be eaten within two weeks.
For a smoky version, add a teaspoon of smoked paprika to the boiling brine. This pairs well if you later turn some of these into a Sauce in 30 Minutes recipe.
| Goal | What to change |
|---|---|
| More Heat | Add 1 tsp red pepper flakes |
| Milder Taste | Use Jalapeños instead |
| Sweeter Profile | Increase sugar to 2 tsp |
Common Beliefs Debunked
Some people think you need to blanch the peppers in boiling water before pickling. This is actually a mistake. Blanching softens the cell walls, which leads to those soggy peppers we are trying to avoid. The boiling brine is enough to sanitize the jar.
Another myth is that you must use a vacuum sealer for fridge pickles. While sealing is great for the pantry, the refrigerator's cold temperature and the vinegar's acidity are plenty for these Pickled Serrano Peppers to stay fresh for weeks.
Keeping It Fresh
Keep these chilled in the refrigerator, where they will remain crunchy and tangy for 4 to 6 weeks. To avoid introducing bacteria, always use a clean fork when removing peppers from the jar.
Save the remaining brine rather than tossing it; this spicy, acidic liquid is incredibly versatile. Try using it to flavor chicken before grilling or stirring it into a vinaigrette for a punchy salad dressing.
Any leftover pepper stems can go straight into the compost or be simmered in a vegetable stock for added depth before being discarded.
Presentation Tips
These Pickled Serrano Peppers look great when sliced into thin rounds and scattered over a bowl of street tacos. The bright green color pops against white onions and cilantro.
For a burger, place one whole pepper on top of a melted slice of pepper jack cheese. It adds a vertical element to the plate and a sharp contrast to the rich beef. If you're serving them as an appetizer, put them in a small glass bowl with a side of cream cheese for dipping.
Very High in Sodium
1463 mg 1,463 mg of sodium per serving (64% 64% of daily value)
The American Heart Association recommends a daily limit of no more than 2,300 mg of sodium to reduce the risk of cardiovascular disease.
Tips to Reduce Sodium in your Pickled Serranos
-
Reduce Pickling Salt-30%
The pickling salt is the primary sodium source. Try reducing the amount by half; the acidity of the vinegar will still provide a strong preservation flavor.
-
Substitute with Potassium Salt-20%
Replace a portion of the pickling salt with a potassium based salt substitute to lower sodium while maintaining a salty profile.
-
Increase Acid Balance-10%
Add a splash of lemon juice or apple cider vinegar to enhance the brightness of the brine, which helps compensate for less salt.
-
Add Aromatic Spices
Incorporate mustard seeds, coriander, or bay leaves to add complex flavors and depth without increasing sodium levels.
Recipe FAQs
Can I pickle whole serrano peppers?
Yes, just prick the skins first. Using a toothpick to make one or two small holes ensures the brine infuses the center so the peppers pickle evenly.
How long do these pickled peppers stay fresh?
Keep them refrigerated for several weeks. Ensure the lids are screwed on firmly and the peppers remain completely submerged in the brine to maintain quality.
What should I do with an overabundance of serrano peppers?
Preserve them through pickling or blending. If you have more than you can jar, you can apply similar heat balancing principles to create a quick hot sauce.
How do I start the pickling process?
Stir the vinegar, water, salt, and sugar together in a saucepan. Heat over medium high until the liquid boils vigorously and the sugar and salt are fully dissolved.
Is it true that I must peel serrano peppers before pickling?
False. Keeping the skin intact preserves the structural integrity and provides the signature snap.
Why do some pickled peppers turn out mushy?
Incorrect salt ratios often cause softening. Use non-iodized pickling salt to draw out excess moisture, which keeps the cell walls firm and crisp.
Whole Pickled Serrano Peppers